
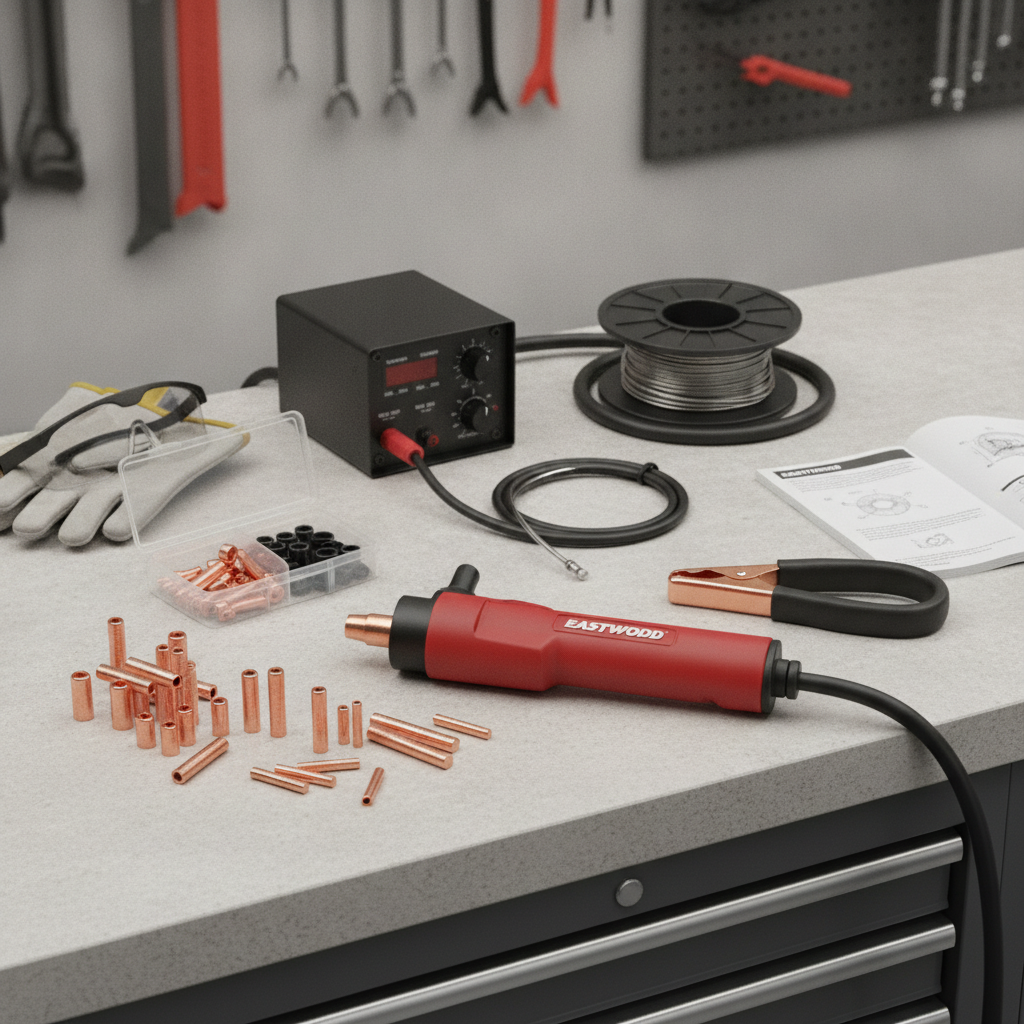
What’s Included in the Kit
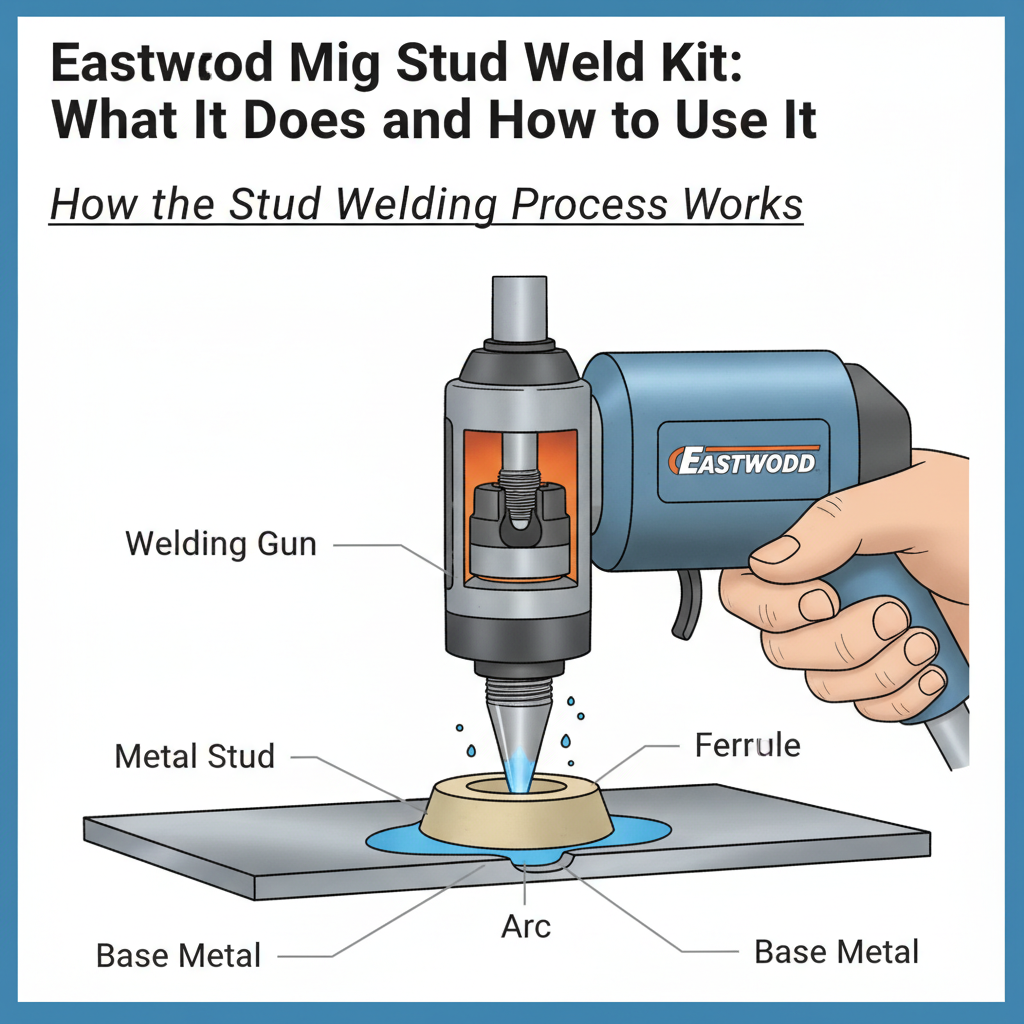
How the Stud Welding Process Works
MIG Welder Compatibility
The Eastwood MIG Stud Weld Kit is designed to work with most standard wire-feed MIG welders. However, not every setup works equally well. For clean, fast stud welds, you generally want: – A welder capable of at least 90–110 amps – DCEP (electrode positive) polarity, which is standard for MIG welding – The ability to run without shielding gas, or with the gas turned off — stud welding doesn’t require gas Smaller flux-core capable machines can work in some cases, but inconsistent arc starts and poor stud adhesion are more common at very low power outputs. If you’re troubleshooting why your studs are pulling off cleanly instead of tearing the panel, the first thing to check is whether you’re getting enough heat during the weld. If you’re also using your welder for body panel repairs beyond dent pulling, choosing a MIG welder suited for auto body work will give you more consistent results across both tasks.Stud Placement Strategy for Better Results
Where and how you place studs determines whether the repair comes out clean or creates additional problems. Most beginners make the mistake of placing studs randomly or pulling too aggressively in one spot. A more effective approach: – Map the dent first — Run your hand across the panel to feel the full extent of the damage. Dents often extend further than they look visually. – Start at the perimeter — Place your first studs around the outer edge of the dent, not at the deepest point. This releases tension in the surrounding metal before you address the low spot. – Work in small increments — Each pull should move the metal slightly, not all at once. Aggressive single pulls create stretched metal that won’t lay flat. – Alternate sides — Avoid pulling repeatedly from one area. Move around the dent in a pattern similar to tightening lug nuts — opposite sides, then rotating. This approach works whether you’re using the slide hammer or the bridge-style puller. The bridge tool generally gives more control because it applies steady pressure rather than impact force, making it easier to avoid overcorrection.Common Problems and How to Fix Them
Studs not bonding properly Usually caused by paint, rust, or scale left on the surface. Even a thin coat of primer will prevent a clean stud weld. Grind down to bare, shiny metal. Studs welding on but pulling off too easily This typically means insufficient heat during the weld. Try bumping up your welder’s voltage or wire speed slightly, or holding the trigger a fraction of a second longer. Overcorrection — panel now has a high spot This happens when you pull too far in one area. Use a body hammer and dolly to tap the high spot back down, or use the knockdown tip to tap adjoining areas. Working the metal from both sides is almost always faster than trying to re-pull a stretched high spot. Grinding marks after stud removal Studs snap off at or slightly above the panel surface. A flap disc on an angle grinder removes the nub quickly, but go light — body panels are thin. Many techs follow up with a file or body sanding block before applying filler. Since you’re working with thin sheet metal during auto body repair, controlling your heat is just as important during stud welding as during conventional welding. Understanding how to MIG weld thin metal without burning through gives useful context for heat management in both processes.Stud Welding vs. Other Dent Pulling Methods
| Method | Access Required | Panel Condition | Skill Level | Speed |
|---|---|---|---|---|
| Stud weld kit | Exterior only | Paint removed | Beginner–Intermediate | Moderate |
| PDR (paintless dent repair) | Interior access preferred | Paint intact | Advanced | Fast |
| Suction cup puller | Exterior only | Shallow dents only | Beginner | Fast |
| Torch and hammer (shrinking) | Interior + exterior | Bare metal | Expert | Slow |
| Drilling pull tabs | Exterior only | Any | Beginner | Fast but invasive |
When to Use the Bridge Puller vs. the Slide Hammer
The Eastwood kit often includes both pulling options, and each has a different feel. Slide hammer — Faster setup, good for sharp impact-style pulls on small, focused dents. Best for creases with a defined low point. The impact action can sometimes overcorrect if you’re not careful with stroke length. Pulling bridge — Slower and more deliberate. Applies gradual, even tension across a wider span. Better for large, flat dents in door panels or quarter panels where you want gradual movement without shock. Most body technicians prefer the bridge for larger damage. In practice, many repairs use both — the bridge to handle the bulk of the correction, and the slide hammer to address any remaining stubborn low spots.FAQ
Can I use the Eastwood MIG Stud Weld Kit with a flux core welder? In many cases, yes — but results vary. Flux core welders can deliver enough current for stud welding, but the lack of a stable arc at very short weld durations sometimes leads to cold or inconsistent welds. A shielding gas-capable MIG welder typically gives cleaner, more reliable stud adhesion. If flux core is your only option, experiment with weld time and voltage before committing to a full repair. Do I need shielding gas when using a stud weld kit? No. Stud welding is a very brief, high-current process where gas shielding isn’t necessary. Most setups have you either disconnect the gas supply or simply leave the flow off during stud welding. The welds are small enough that atmospheric contamination during the brief arc isn’t a significant issue. What metal thickness works best for stud welding on auto body panels? Stud welding works well on typical automotive sheet metal, which ranges from approximately 0.6mm to 1.2mm (18–22 gauge). Very thin metal — such as some modern ultra-high-strength steel panels — can be more prone to panel distortion or heat damage around the weld zone. Always test on a scrap piece first if you’re unsure about the panel composition. How do I remove the studs cleanly after pulling the dent? Most kits include knockdown pliers or side-cutting pliers designed to snap studs at or near the panel surface. A quick lateral snap (not straight out) usually breaks the stud cleanly. Follow up with a small angle grinder and flap disc or body file to smooth the remaining nub before applying body filler or primer. Can you use the Eastwood stud kit on aluminum panels? Standard MIG stud welding is designed for steel. Welding studs to aluminum requires different polarity settings, different wire, and specialized aluminum welding techniques — and most conventional stud guns aren’t set up for it. For aluminum dent repair, paintless dent repair tools or dedicated aluminum stud welding systems are the more appropriate approach. Is the Eastwood MIG Stud Weld Kit worth it for occasional home use? For someone doing occasional auto body repairs at home — fixing a parking lot dent, rust repair, or preparing a panel for respray — the kit provides a practical and relatively affordable way to pull dents without cutting into the panel. The learning curve is modest, and the skills transfer well to other collision repair work. What’s the difference between the Eastwood MIG Stud Weld Kit and a dedicated CD (capacitor discharge) stud welder? A capacitor discharge stud welder uses stored electrical energy to weld studs in a single fast pulse, producing very consistent welds with minimal heat input. The Eastwood MIG-based kit relies on your welder’s current delivery, which is less controlled. CD welders are generally faster and produce cleaner welds, but they’re also significantly more expensive. For home use and occasional repairs, the MIG-based kit is more practical. For professional body shop volume, a CD stud welder justifies the investment.The Eastwood MIG Stud Weld Kit is one of the more practical tools a home bodywork enthusiast can add to their garage. Mastering stud placement and pull technique takes a few sessions to develop, but once the process clicks, it opens up dent repairs that would otherwise require professional equipment or invasive panel cutting. Start on practice panels, get comfortable with your welder’s settings, and work methodically — the results are noticeably better than rushed single-point pulls.