Pulling dents on auto body panels usually comes down to one thing — getting a solid attachment point without drilling holes or causing more damage. That’s exactly the problem the Eastwood MIG Stud Weld Kit is designed to solve.
The Eastwood MIG Stud Weld Kit is an auto body dent repair tool that attaches to a standard MIG welder and allows you to weld small steel studs directly onto a dent. You then use a slide hammer or pulling tool to pull the dent outward from the front of the panel. It’s a widely used technique in collision repair that avoids cutting, grinding, or disassembling panels.
What’s Included in the Kit
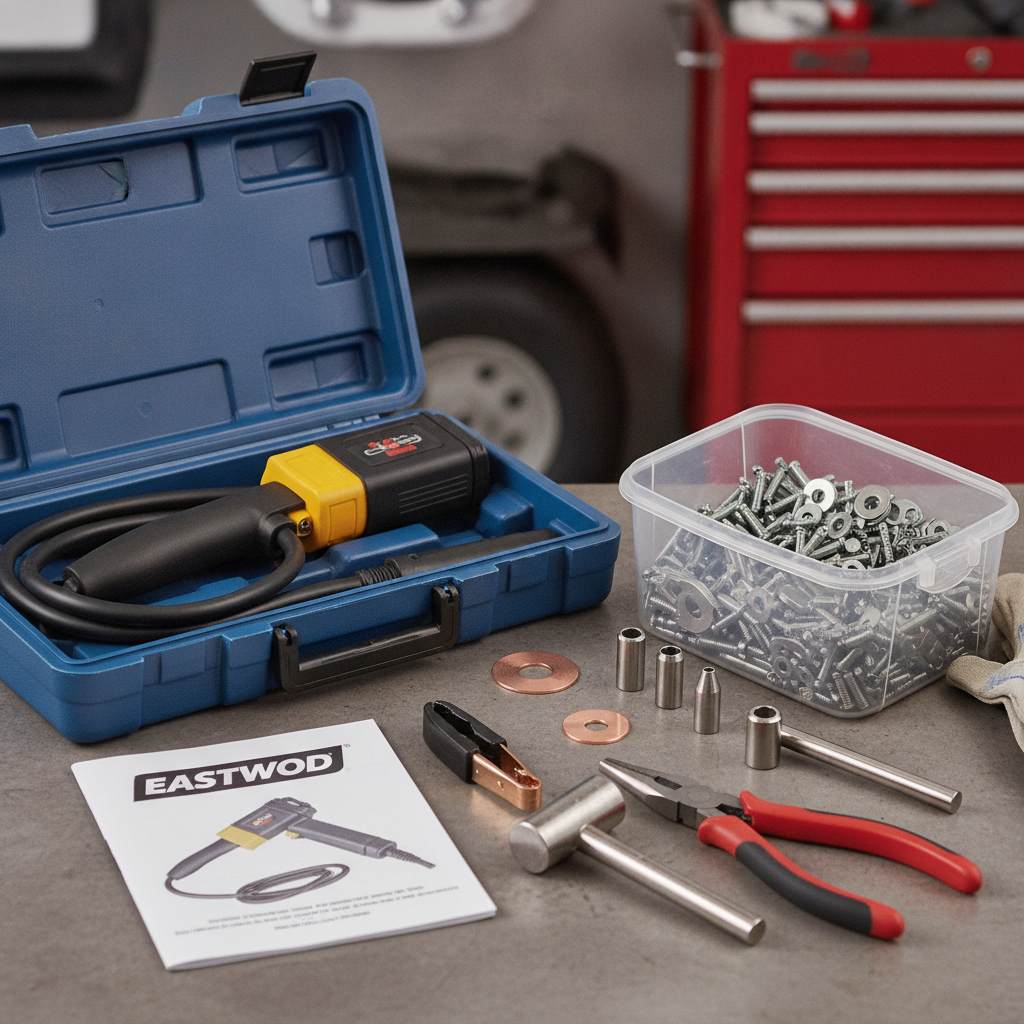
The Eastwood MIG Stud Weld Kit typically includes the components needed to connect to your existing MIG welder and start pulling dents without additional tools.
A standard kit contains:
– Stud welding gun — feeds and welds studs onto the panel surface
– Pulling bridge — attaches over the stud to allow controlled pulling
– Slide hammer — creates the outward force to pull the dent
– Steel weld studs — small-diameter pins that weld onto the dent
– Ground clamp — establishes the circuit through the vehicle panel
– Stud cutter or snip tool — for removing studs cleanly after the repair
The kit connects to any standard MIG welder through the gun’s trigger lead and ground cable. No separate stud welder power source is required, which is a meaningful advantage for home shops and independent body technicians.
How the Stud Welding Process Works
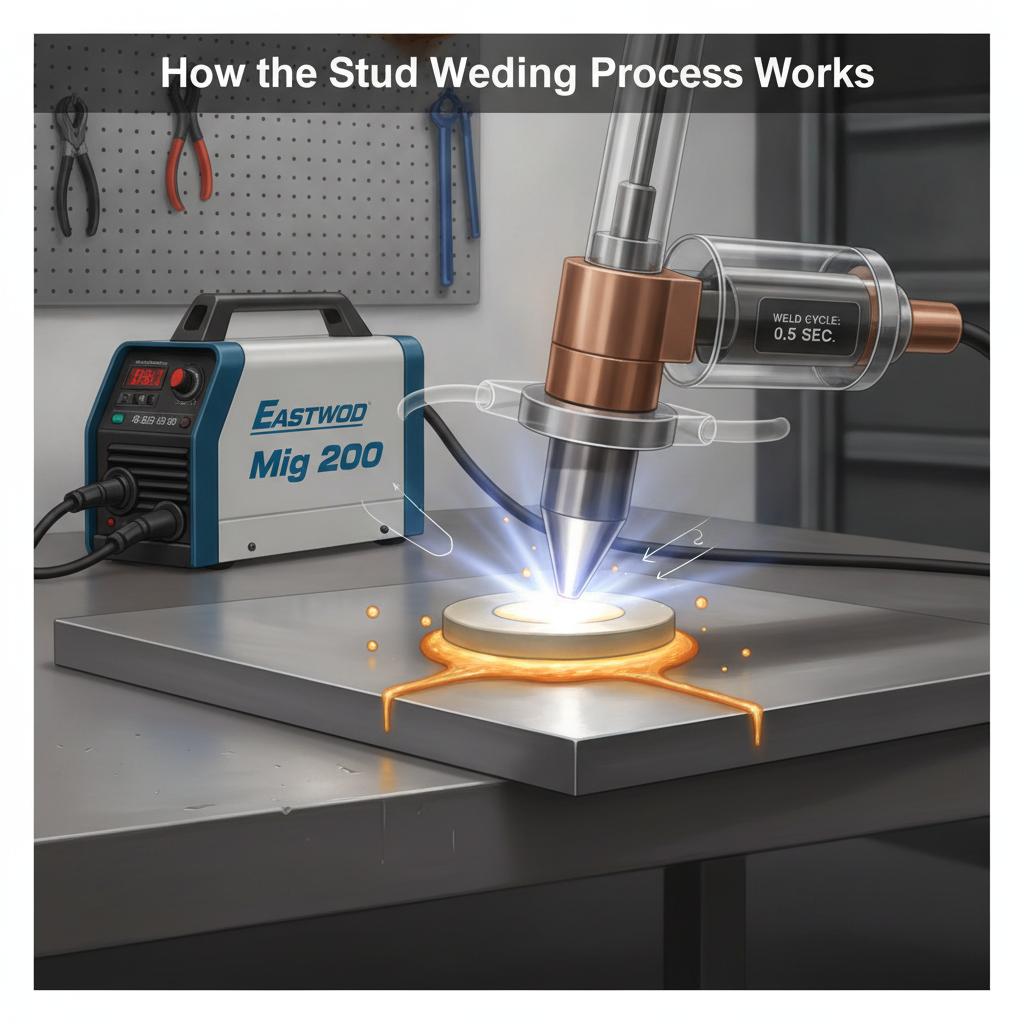
The process works by momentarily arcing a small steel stud onto the damaged panel. The heat is localized and brief, which limits distortion to the surrounding metal.
Here’s how the basic sequence runs:
1. Prepare the surface — grind or sand the painted area down to bare metal where you’ll be welding studs
2. Attach the ground clamp — connect directly to the panel or a nearby bare metal location
3. Load a stud into the tip of the stud gun
4. Press the tip against the panel at the center of the dent and pull the trigger — the stud welds on in under a second
5. Attach the pulling bridge over the stud, positioning the legs on undamaged metal around the dent
6. Use the slide hammer to pull the stud outward gradually, working the dent back into shape
7. Cut and grind the stud flush once the dent is pulled to shape
8. Finish as needed with filler or block sanding
The technique is especially effective on shallow panel dents where the metal hasn’t been stretched or creased sharply. On deeper damage, stud welding is typically one step in a broader repair sequence.
MIG Welder Settings for Stud Welding
Getting the welder dialed in correctly makes a real difference in stud adhesion. A stud that doesn’t bond properly will pull off during the repair instead of pulling the dent.
Setting
Recommended Range
Wire Speed
Low to mid range
Voltage
Low setting (thin panel safe)
Wire Diameter
0.023" or 0.030" typically
Gas
75/25 Argon/CO2 (C25)
Polarity
DCEP (electrode positive)
Stud welding pulses are extremely short. You’re not running a weld bead — you’re transferring just enough energy to fuse the stud base to the panel in a fraction of a second. Running too hot causes burn-through on thin body panels, while running too cold leaves studs that pull off under load.
For thin auto body steel — typically 18 to 22 gauge — keeping heat input under control on thin-gauge panels is critical whether you’re welding a bead or welding a stud.
Where Stud Welding Makes the Most Sense
Not every dent repair situation calls for stud welding. Knowing when it fits and when another approach works better saves time.
Best applications:
– Shallow to moderate dents on flat or mildly curved panels
– Door skin repairs where backside access is limited
– Roof panel dents
– Quarter panel dents without major creasing
– Body lines with minor distortion
Less effective situations:
– Sharp creases or kinked metal that needs hammer and dolly work from behind
– Dents on high-strength steel (HSS/UHSS) panels — check the repair manual first
– Heavily stretched metal that needs shrinking, not just pulling
– Rust-damaged areas where the panel won’t hold a weld
Common Problems and How to Fix Them
A few issues come up repeatedly when using stud weld kits, especially for users new to the technique.
Studs pulling off during the repair
This usually means the stud didn’t weld fully, either because the surface wasn’t clean enough or the welder was set too low. Regrind the area, check your ground connection, and try a slightly higher wire speed setting.
Burn-through on the panel
Voltage is too high or the stud is being held against the panel too long before triggering. Work quickly and keep settings conservative. Auto body steel is typically thin enough that excess heat creates problems fast.
Panel puckering or oil-canning after pulling
This happens when the surrounding metal is being stressed unevenly. Spread your pull points across multiple studs rather than concentrating force on a single one. Use the pulling bridge legs on solid, flat metal.
Stud won’t cut cleanly
Let the stud cool fully before cutting. Attempting to cut a warm stud can drag the surrounding finish. A sharp stud cutter or flush-cut pliers works better than an angle grinder for final cleanup.
If you’re running into broader weld quality issues beyond stud welding, diagnosing MIG welding problems systematically often reveals settings or equipment issues that affect multiple processes.
Using the Pulling Bridge and Slide Hammer Correctly
The pulling bridge is what separates controlled pulling from randomly yanking on a stud. Its legs distribute pressure around the dent perimeter so the force moves metal rather than just stretching it further.
A few practical points:
– Keep the bridge legs on undamaged, solid metal — not on the center of the dent
– Apply slide hammer blows in firm, measured strokes — not rapid hammering
– Work from the outside edges of the dent inward, not from the deepest point outward
– Alternate between pull points if using multiple studs to keep the repair even
– Stop frequently to assess the panel rather than over-pulling
Over-pulling is a real risk. Metal that gets pulled past its original shape is harder to correct than a dent that’s only partially repaired. Slow progress beats a stretched panel.
Stud Welding vs. Other Dent Pulling Methods
Method
Access Needed
Damage Risk
Skill Level
Best For
Stud Welding
Front only
Low if done correctly
Moderate
Panels with no backside access
Hammer & Dolly
Backside required
Low
High
Precise metal finishing
Suction Cup Puller
Front only
Very low
Low
Very shallow dents
Hot Glue Tab System
Front only
Very low
Low-Moderate
Small dings, PDR work
Drill & Pull Hook
Front only
Moderate (hole needed)
Low
Quick rough pulls
Stud welding sits in a practical middle ground — more pulling power than suction or glue tabs, no drilled holes, and no backside access required. It’s widely used in professional body shops for exactly that combination.
For auto body work specifically, having a capable welder matters as much as having the right accessories. If you’re researching your equipment options, checking out MIG welders suited for auto body repair gives useful context on what machine specifications actually matter for panel work.
FAQ
Does the Eastwood MIG Stud Weld Kit work with any MIG welder?
It works with most standard wire-feed MIG welders that have a standard gun connection. The kit connects through the MIG gun trigger lead and the welder’s ground cable. Very basic or non-standard welders may not be compatible, so checking the connection type on your specific machine before purchasing is worthwhile.
What size studs does the Eastwood stud weld kit use?
Eastwood stud weld kits typically use small-diameter steel pins, often around 2.5mm to 3mm in diameter. The studs are designed to weld cleanly onto body panel steel at low heat settings. Replacement studs are generally sold separately and are available in bulk packs for extended use.
Can you use a stud weld kit on aluminum panels?
Standard MIG stud weld kits are designed for steel panels only. Welding steel studs to aluminum is not practical due to the metallurgical incompatibility. Aluminum dent repair typically requires dedicated aluminum stud welders or hot glue-based pulling systems designed specifically for aluminum body panels.
Do you need shielding gas to use the stud weld kit?
Yes. Since the kit uses your MIG welder as the power source, the welder’s shielding gas system is active during the weld. A standard 75/25 Argon/CO2 mix works well for stud welding on mild steel body panels. Running without gas would produce a porous, weak stud weld that won’t hold under pulling force.
How do you remove the welded studs after pulling the dent?
Most kits include a stud cutter or snip tool designed to clip the stud close to the panel surface. After cutting, any remaining stub is ground flush with a small angle grinder or rotary tool, then the area is block-sanded smooth before filler or paint work.
Can a beginner use the Eastwood MIG Stud Weld Kit without body shop experience?
Yes, with some practice. The stud welding process itself is straightforward, but developing a feel for how much pulling force is needed takes time. Starting on a scrap panel or a non-cosmetic area helps build confidence before working on a visible repair. Understanding basic MIG settings is helpful before using the kit.
Is stud welding suitable for rust-damaged panels?
Generally no. Rust weakens the surrounding metal, and the stud won’t weld reliably to heavily corroded steel. Even if the stud attaches, the panel metal itself may tear during pulling. Rust-damaged areas typically require patch panel fabrication rather than dent pulling.
The Eastwood MIG Stud Weld Kit is a practical, cost-effective solution for front-access dent repair when you already own a MIG welder. It works best on clean, undamaged steel panels where the metal needs to be pulled back rather than worked from behind. Keep settings conservative, keep the surface clean, and take your time with each pull — the technique rewards patience more than force.