
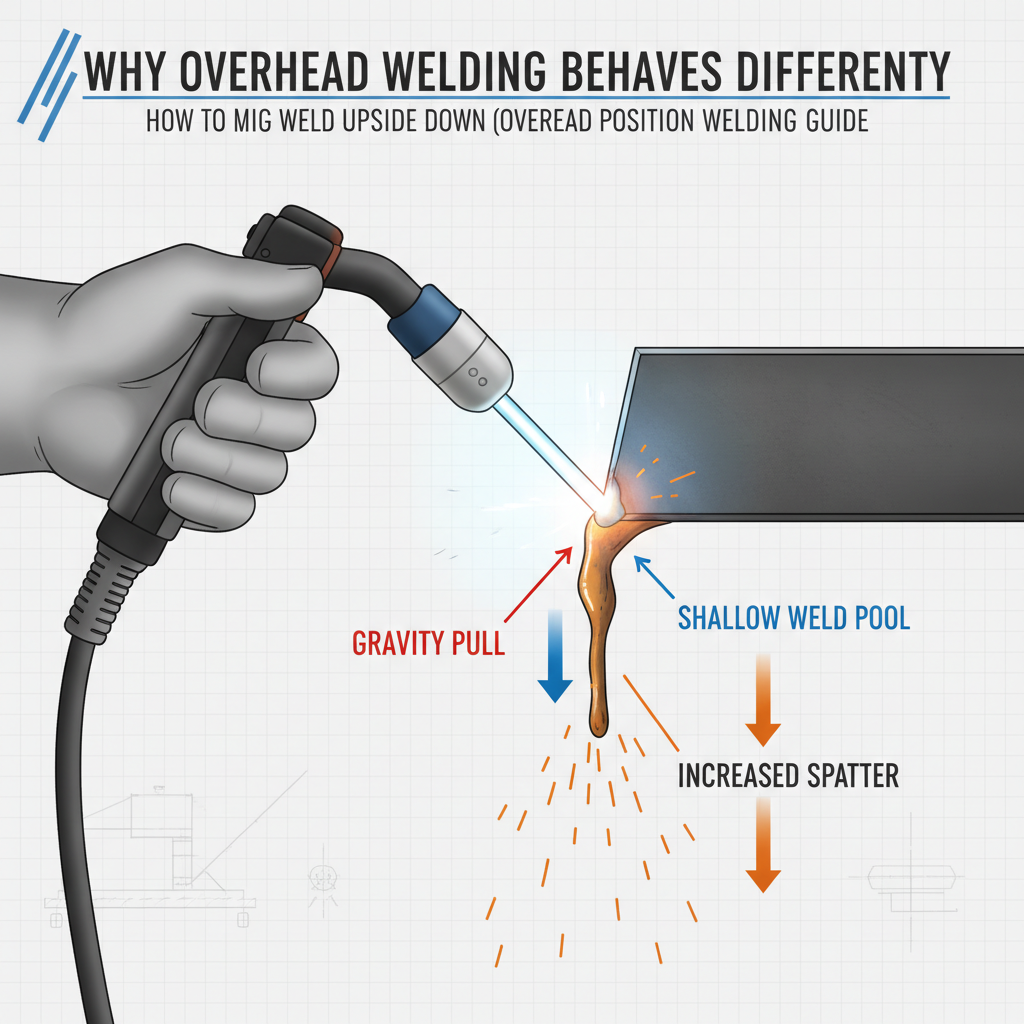
Why Overhead Welding Behaves Differently
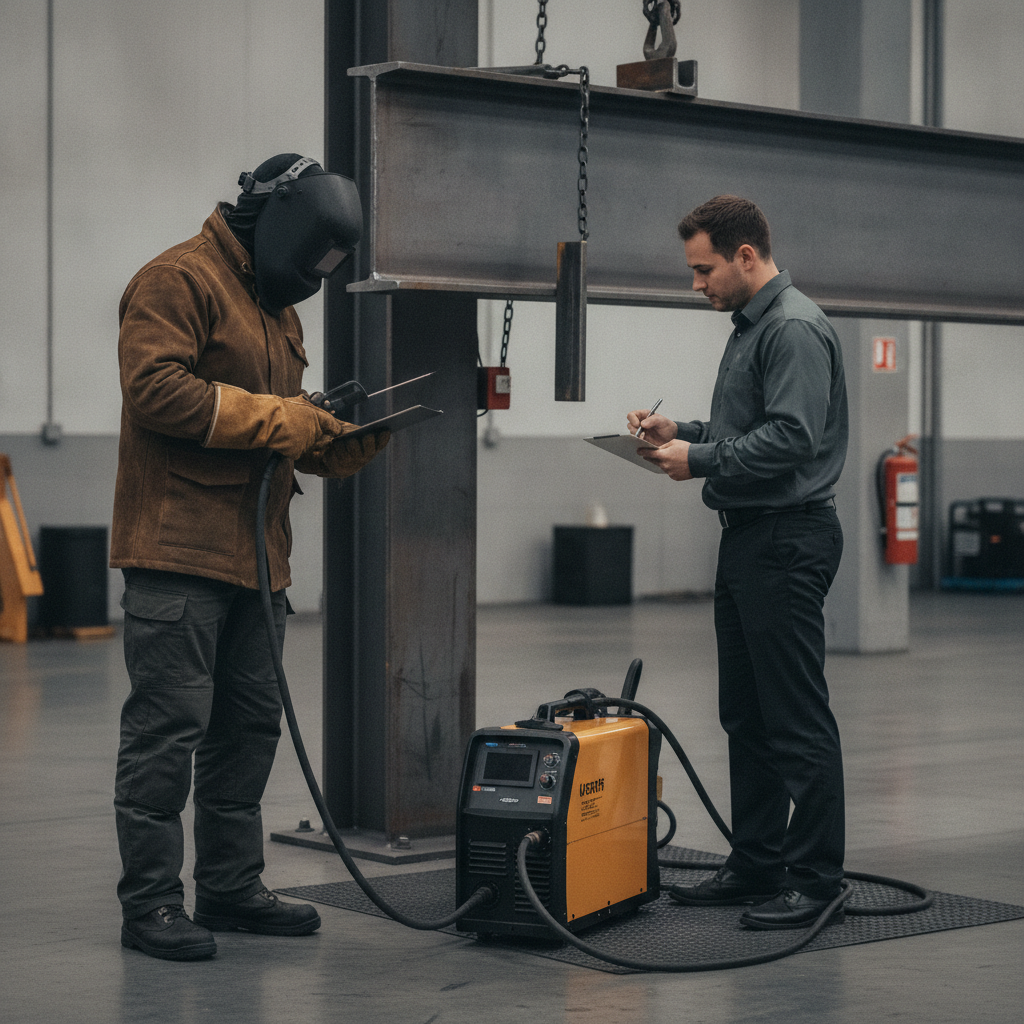
Safety Before You Strike an Arc
Machine Settings for Overhead MIG Welding
This is where many welders go wrong. They use their standard flat-position settings and wonder why the puddle drips or goes cold. The general rule: reduce voltage by 10–15% and reduce wire feed speed proportionally. A smaller, faster-solidifying puddle is much easier to control overhead.| Setting | Flat Position | Overhead Adjustment |
|---|---|---|
| Voltage | Standard | Reduce 10–15% |
| Wire Feed Speed | Standard | Reduce 10–15% |
| Travel Speed | Standard | Increase slightly |
| CTWD (Contact Tip to Work Distance) | 3/8–1/2 inch | Keep on the shorter end |
| Shielding Gas Flow | 15–25 CFH | No change needed |
Body Position and Torch Angle
Good body mechanics matter more overhead than in any other position. If your arm is shaking from fatigue, your bead will show it immediately. Brace yourself whenever possible. Lean against a structure, rest your elbow on a surface, or brace your forearm against the workpiece. Free-floating your arm overhead for several inches of bead is a recipe for inconsistency. Torch angle: – Point the torch directly up at the joint (perpendicular to the work surface) – Apply a 5–15 degree drag or push angle in the direction of travel – Keep the torch angle consistent — wandering angle causes uneven fusion Travel direction: Most welders find dragging (pulling) more controllable overhead because it gives you a clearer view of the puddle. Pushing can work but makes it harder to see what’s happening at the front edge.Step-by-Step: Running an Overhead MIG Bead
1. Set up your machine with reduced voltage and wire speed (10–15% lower than your flat position settings for the same material thickness). 2. Position yourself comfortably under the joint. Identify a way to brace your torch arm. 3. Check your CTWD — keep it on the shorter end of the normal range to maintain arc stability. 4. Start the arc at the beginning of the joint and establish the puddle quickly. Don’t linger. 5. Move at a consistent, slightly faster-than-flat travel speed. A smaller puddle is your goal. 6. Watch the edges of the puddle, not the center. Fusion at both edges is your sign the bead is bonding properly. 7. Use a steady drag angle and avoid weaving patterns until you’re confident in basic puddle control. 8. End the bead cleanly — don’t abruptly stop, as this leaves a crater. Pause briefly at the end to fill. 9. Let the bead cool before inspecting. Overhead beads can retain heat longer because airflow is limited.Weave Patterns vs. Stringer Beads Overhead
For most overhead welding, stringer beads are easier and more reliable than weave patterns. A tight stringer keeps the puddle small and manageable. Weaving overhead is possible for wider joints but demands real puddle control. If you weave too slowly at the edges, the metal sags or drips. If you weave too fast, you lose fusion. When a wider weld is needed, run multiple stringer passes side by side instead of attempting a wide weave. This gives you better control, better fusion, and a more consistent result.Common Problems and How to Fix Them
Puddle sagging or dripping: – Voltage is too high — reduce it – Travel speed is too slow — move faster – Puddle is too large — reduce wire feed speed Cold weld / lack of fusion: – Voltage is too low — increase slightly – Travel speed is too fast — slow down marginally – CTWD is too long — shorten it Inconsistent bead width: – Arm fatigue causing movement — find a brace point – Inconsistent travel speed — practice with shorter runs first – Torch angle drifting — focus on holding a fixed angle Excessive spatter: – Voltage and wire speed may be mismatched — check your gas pressure and flow settings as a starting point – Contact tip may be worn — replace it before overhead workPracticing Before Committing to a Real Joint
Don’t attempt overhead welding on a structural or critical joint without practice runs. Weld scrap plate overhead first until your bead looks consistent. A good practice sequence: 1. Run flat position beads at your normal settings 2. Re-dial settings for overhead (10–15% voltage/WFS reduction) 3. Run short 2–3 inch overhead beads on scrap 4. Inspect for sag, undercut, and fusion 5. Adjust and repeat until the bead looks controlled 6. Then attempt longer runs and actual joint configurations The Lincoln Electric Magnum PRO 100L gun is a lightweight torch option that reduces arm fatigue during extended overhead work — something worth considering if you weld in this position regularly.FAQ
What is the hardest welding position and why? Overhead (4G or 4F position) is generally considered the most difficult. Gravity pulls the molten puddle away from the joint, demanding precise heat control, correct travel speed, and strong body mechanics simultaneously. Flat position welding is the easiest because gravity helps the puddle settle into place naturally. Should I push or pull when MIG welding overhead? Most welders prefer dragging (pulling) overhead because it provides a clearer view of the puddle and feels more controlled. Pushing is possible but obscures your view of the leading edge. Either can work — choose whichever gives you better puddle visibility in your specific joint configuration. Why does my overhead weld have big lumps or blobs? Blob formation happens when the puddle gets too large and hot to stay in place against gravity. Reduce voltage by 10–15%, increase travel speed slightly, and make sure your wire feed speed matches the lower voltage setting. Running stringer beads instead of weave patterns also helps. Can I MIG weld upside down with flux-core wire? Yes, and in some cases flux-core wire handles overhead position better than solid wire because the slag system helps support the puddle. Use a flux-core wire rated for all-position welding (E71T-1 for example). Make sure your machine polarity is set correctly for flux-core — MIG welding polarity varies between solid wire and flux-core. How do I prevent spatter burns when welding overhead? Full leather coverage is the baseline — leather jacket, gauntlet gloves, leather boots, and a neck guard. Anti-spatter spray applied to nearby metal surfaces reduces cleanup. A leather welding cap under your helmet protects the top of your head. Never weld overhead in a cotton t-shirt or synthetic fabric. What travel angle should I use overhead? Hold the torch perpendicular to the work surface with a 5–15 degree travel angle in the direction of movement. Avoid steep angles — anything beyond 20–25 degrees causes the arc to wander and makes puddle control harder. Keep the angle consistent throughout the pass. How do I know if my overhead weld has good fusion? A properly fused overhead bead will be relatively flat, have consistent width, and show slight tie-in at both toes without undercut. If the bead looks convex and rounded (like a worm sitting on top of the metal), fusion is likely insufficient — caused by low heat or excessive travel speed.Overhead MIG welding rewards patience and methodical adjustment. Dial your settings down, brace your body, keep the puddle small, and let travel speed do the work instead of heat. Get comfortable on scrap first, and the technique becomes second nature faster than most people expect.