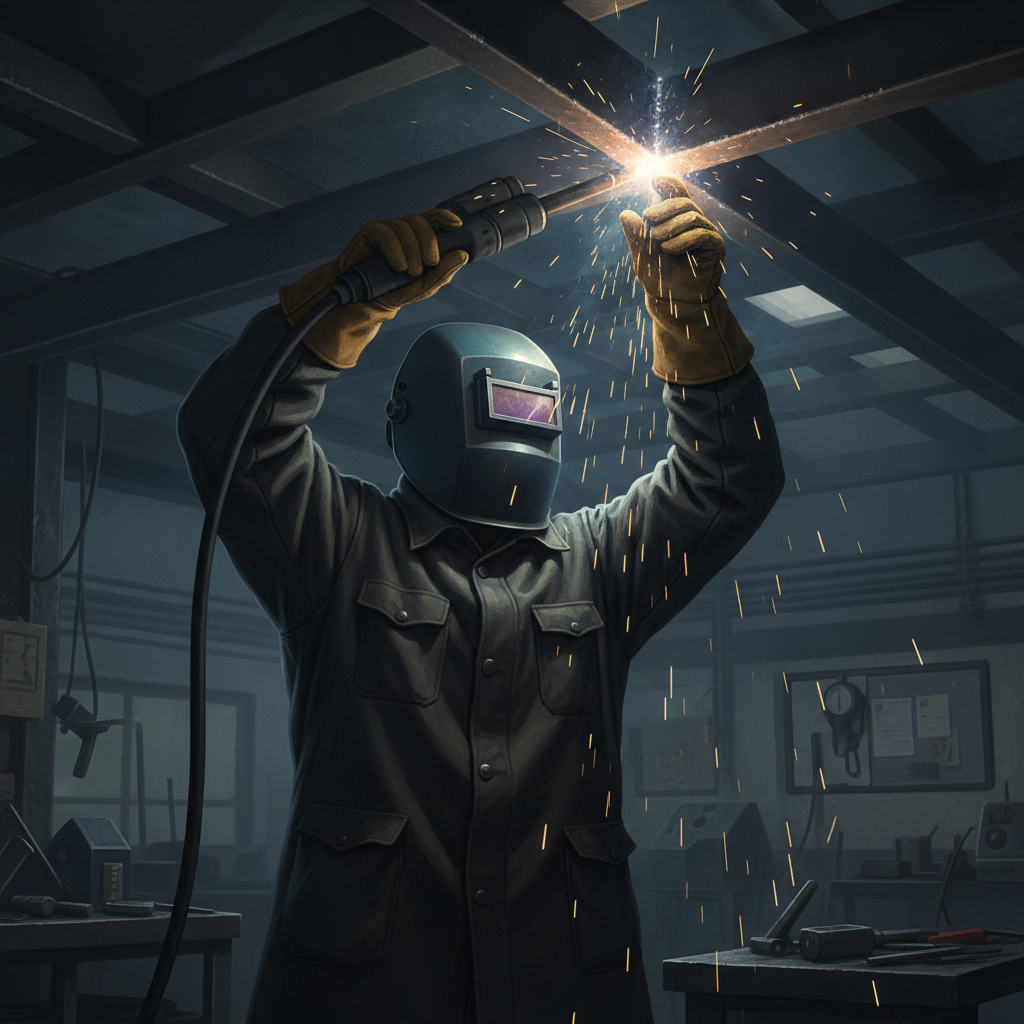
Working underneath a vehicle, inside a frame rail, or on the underside of a structure puts welders in an uncomfortable position — literally. Overhead and out-of-position welding is one of the more challenging skills to develop, and it raises a common question.
Yes, you can MIG weld upside down. Overhead MIG welding is a legitimate welding position (4F for fillet welds, 4G for groove welds) used regularly in automotive, structural, and fabrication work. It requires adjusted settings — typically lower voltage and wire feed speed — along with proper technique to manage a molten puddle that gravity wants to pull away from the joint.
Why Overhead MIG Welding Is Genuinely Challenging
The core difficulty is simple: molten metal wants to fall.
In flat or horizontal welding, gravity helps the puddle sit in the joint. Overhead, you’re fighting that constantly. If the puddle gets too hot or too large, it sags, drips, or creates an inconsistent bead with poor fusion.
The heat input matters more in overhead welding than in most other positions. An overly hot puddle becomes fluid and loses shape quickly. A slightly cooler, faster-moving puddle stays manageable and holds its form better.
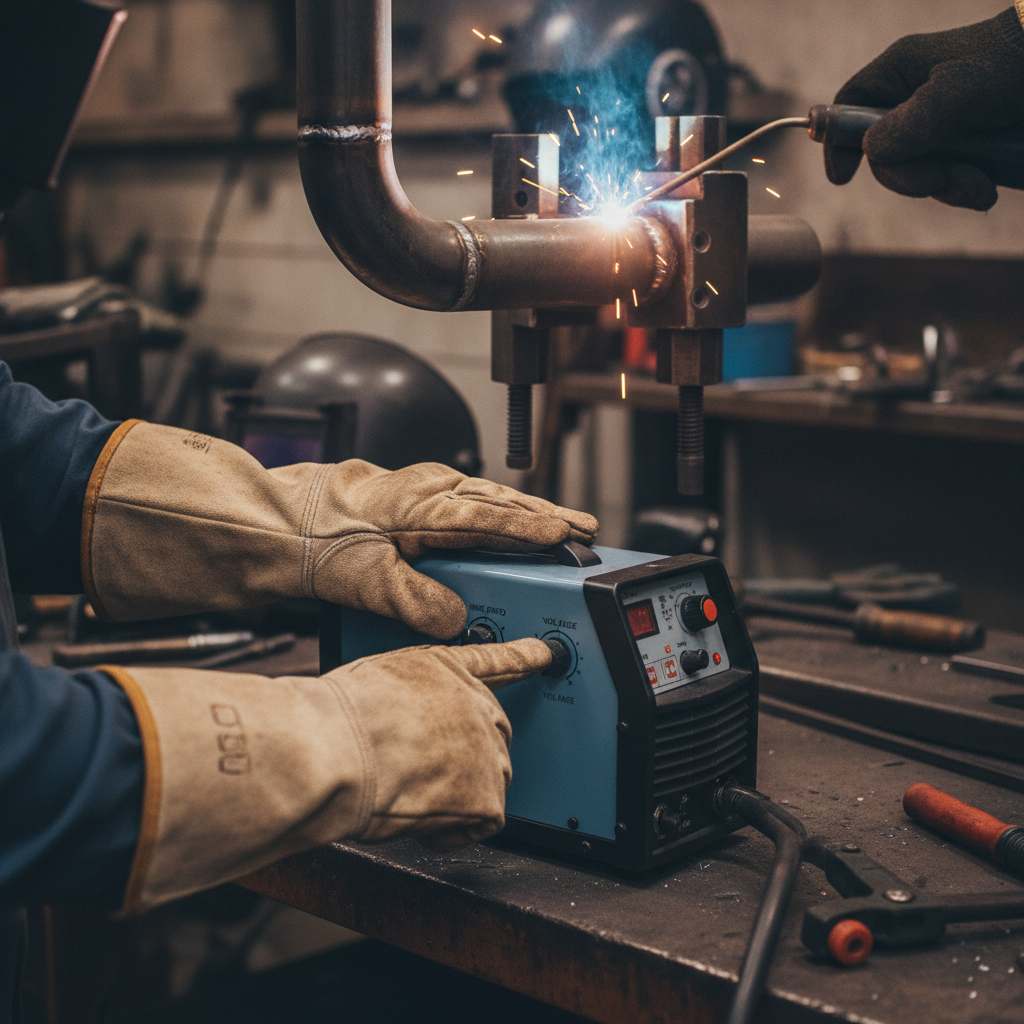
Adjusting Your MIG Settings for Overhead Welding
The most important change is reducing heat input compared to your flat-position settings for the same material thickness.
Typical adjustments:
– Reduce voltage by 1–2 volts from your flat-position baseline
– Reduce wire feed speed by 10–15% to keep the puddle smaller and less fluid
– Keep travel speed slightly higher than flat welding to avoid heat buildup
Keeping the puddle small is the central goal. A small puddle is easier to control, less likely to sag, and still achieves adequate fusion when technique is consistent.
For reference, if you’re already using a wire speed and voltage chart for clean welds, reduce both values slightly from the flat-position recommendations for your material thickness.
Technique: How to Actually Run a Bead Overhead
Technique is where most welders struggle when they first attempt overhead MIG welding. The following approach works consistently in practice.
Gun angle:
Hold the gun at roughly 15–20 degrees from perpendicular, pointing in the direction of travel. This is a slight drag or push angle depending on your joint type. Avoid steep angles — they direct heat away from the joint and increase spatter.
Travel pattern:
For most overhead fillet welds, a straight drag with no weaving produces the most controlled results. Weaving in the overhead position dramatically increases the chance of the puddle sagging.
If you must weave for wider coverage, use very small side-to-side oscillations and keep moving — pausing even briefly overhead allows heat to concentrate and the puddle to lose control.
Travel speed:
Move steadily and slightly faster than you would flat. Hovering over one spot overheats the metal rapidly.
Contact-to-work distance:
Keep a consistent stick-out of around 3/8 to 1/2 inch (10–13mm). Longer stick-out drops voltage at the arc, which can help marginally in overhead positions, but going too long introduces wire instability.
Shielding Gas and Overhead Welding
Shielding gas behavior doesn’t change dramatically in the overhead position, but coverage can be affected by body positioning and drafts in the workspace.
A 75/25 argon/CO₂ mix (C25) remains the most practical choice for mild steel in overhead welding. It produces a smoother, more controllable arc than straight CO₂ and generates less spatter — which matters when you’re working above your head.
Keep your shielding gas flow rate at the standard range of 15–20 L/min. You don’t need to increase it significantly for overhead work unless you’re in a drafty environment.
Safety Precautions for Overhead Welding
Overhead welding introduces physical hazards that flat welding doesn’t.
Spatter and UV exposure:
Spatter falls directly onto the welder when working overhead. This is not optional to address — it’s a genuine burn risk.
– Wear a leather welding jacket or at minimum heavy leather sleeves
– Use a welding helmet rated for overhead work (auto-darkening helmets make repositioning easier)
– Cover any exposed skin completely
– Wear leather gloves — not cloth
Fume exposure:
Welding fumes rise, which means they move toward your face naturally in the overhead position. Respiratory protection becomes more important here, not less. Use a welding respirator or ensure strong ventilation.
Physical fatigue:
Holding a gun above your head for extended periods causes rapid arm fatigue. Fatigue leads to inconsistent gun angle and travel speed, which directly hurts weld quality. Reposition, take short breaks between passes, and use a welding positioner if you have access to one.
Overhead isn’t the only challenging welding position, but it’s generally considered the hardest for MIG.
Position
Description
Difficulty
Flat (1F/1G)
Welding on top of horizontal surface
Easiest
Horizontal (2F/2G)
Welding on a vertical surface horizontally
Moderate
Vertical (3F/3G)
Welding up or down on a vertical surface
Challenging
Overhead (4F/4G)
Welding the underside of a joint
Most demanding
Vertical welding (3F/3G) is its own technical challenge — getting MIG welds to lay flat vertically requires managing a different set of puddle forces than overhead work.
Practical Tips That Make Overhead Welding Easier
A few habits separate welders who struggle overhead from those who manage it consistently:
– Practice on scrap first. Even experienced welders dial in their overhead settings on scrap pieces before working on the actual joint.
– Tack weld aggressively. Overhead joints shift under heat. Solid tack welds at shorter intervals reduce distortion and keep the joint positioned correctly.
– Keep passes short. Long continuous passes overhead increase fatigue and heat buildup. Run shorter passes and allow brief cooling between them.
– Clean the base metal. Contaminants cause worse problems overhead because the arc is already working harder to maintain a consistent puddle. Clean metal reduces porosity risk significantly.
– Use a machine with stable arc characteristics. A welder like the Lincoln Electric Weld-Pak 140 or the Hobart Handler 140 maintains consistent arc behavior at the lower voltage ranges used for overhead welding, which makes puddle control noticeably easier.
If you’re welding in tight spaces like under a vehicle — working on thin sheet metal or exhaust components — controlling heat to avoid burning through thin metal becomes even more critical in the overhead position.
Is overhead MIG welding the same as overhead stick welding?
Both involve welding on the underside of a joint, but the technique differs. MIG welding overhead uses a continuous wire feed and shielding gas, making puddle control the primary challenge. Stick welding overhead requires managing a heavier electrode and slag, which has its own demands. Most welders find MIG more manageable overhead because of its faster travel speed and less slag buildup.
What wire size is best for overhead MIG welding?
For overhead welding on mild steel, 0.023″ or 0.030″ wire is generally preferable to 0.035″. Thinner wire requires lower wire feed speeds and less heat input, giving you a smaller, more controllable puddle. If you’re welding heavier structural material overhead, 0.035″ is acceptable but requires disciplined speed and technique.
Can flux-core wire be used for MIG welding overhead?
Yes, and in some cases gasless flux-core wire is actually practical for overhead work in outdoor or drafty conditions where shielding gas coverage becomes unreliable. Self-shielded flux-core produces more spatter and a heavier slag, which falls directly onto the welder, so personal protection becomes even more critical. Gas-shielded flux-core (FCAW-G) is commonly used in structural overhead applications.
How do I stop the puddle from dripping when welding overhead?
Lower your voltage by 1–2 volts from your flat-position setting and increase travel speed. A smaller, faster-moving puddle is the primary solution. Also check that your contact-to-work distance isn’t too short — a tighter arc puts more heat directly into the puddle and increases sagging. Running stringer beads rather than weaving also reduces the size of the puddle at any given moment.
Does overhead welding require any special certification?
In professional and structural welding environments, yes. AWS (American Welding Society) and other standards bodies test welders in specific positions, and a 4G certification covers overhead groove welding. A 4G qualification typically qualifies the welder for flat, horizontal, and overhead positions under most codes. For hobbyist or automotive shop work, no certification is required, but the technique standards still apply to weld quality.
How do I know if my overhead weld is structurally sound?
Visually, a sound overhead weld has consistent width, uniform ripple spacing, and shows proper tie-in at both toes of the weld without undercut or overlap. If the bead looks lumpy, has visible sag marks, or shows porosity pitting, the weld likely has internal inconsistencies. In critical structural applications, nondestructive testing (NDT) is used — but for most fabrication and repair work, a clean visual appearance combined with proper settings is a reliable indicator.
Overhead MIG welding is entirely doable once you accept that the settings and technique need to change from flat-position work. Lower heat, consistent travel speed, proper protective gear, and short practice runs on scrap will get you there faster than grinding through failed welds on the actual job. The physics don’t change — you’re just managing the puddle in a position where gravity isn’t helping you.