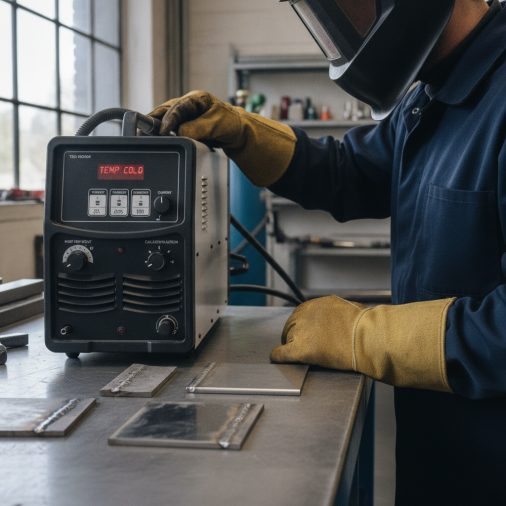
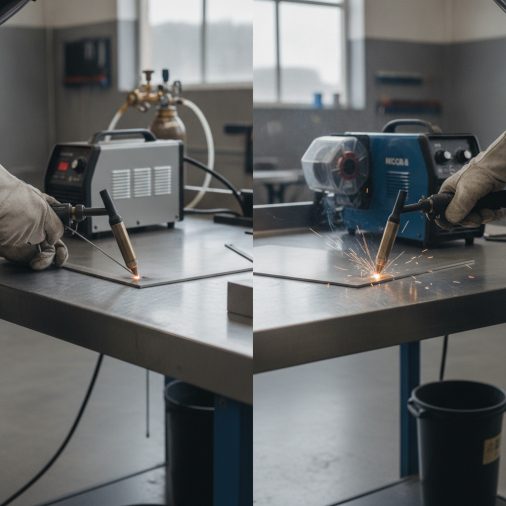
Running cold on stainless steel is a common trap. You dial back the heat to avoid warping or discoloration, and then you end up with a bead that sits on top of the base metal instead of fusing into it — creating a visually acceptable weld with poor actual penetration.
Cold welding stainless steel doesn’t mean running the lowest possible amperage. It means using controlled, reduced heat compared to mild steel while still achieving full fusion. For TIG welding stainless, this typically falls between 1 amp per 0.001 inch of material thickness as a starting rule. For MIG, a tri-mix shielding gas (90% helium / 7.5% argon / 2.5% CO₂) helps maintain arc stability at lower heat input. Exact settings depend on material thickness, joint type, wire or filler diameter, position, and your specific machine.
Why “Cold” Settings on Stainless Require Careful Calibration
Stainless steel conducts heat poorly compared to mild steel. That’s not a minor detail — it fundamentally changes how you set up your machine. Heat builds up quickly in the weld zone and spreads slowly into the surrounding base metal, which leads to warping, carbide precipitation, and weld discoloration if you run too hot.
Running intentionally cold settings is a legitimate technique, particularly on thin-gauge stainless sheet, precision food-grade fabrication, and appearance-critical work. The risk is that too cold means lack of fusion — a defect that can look fine visually but fails under load.
Understanding why stainless steel behaves differently from mild steel is essential before adjusting settings based on feel alone.
Process Selection: TIG vs. MIG for Cold Stainless Welding
The process you choose shapes your heat control options significantly.
TIG (GTAW) is the dominant choice for cold stainless work because the foot pedal or fingertip control lets you modulate amperage in real time. You can start hot enough to establish fusion and back off as the metal heats up. It also produces no spatter and offers the cleanest result on thin or visible material.
MIG (GMAW) with tri-mix gas is a practical option for heavier gauge stainless or production work where TIG speed is impractical. Short-circuit transfer at lower voltage settings provides a cooler weld pool than spray transfer, making it suitable for thin material when dialed carefully.
Flux-core (FCAW) and stick (SMAW) are generally not the right approach for controlled cold settings on stainless, particularly on thin material. They introduce more heat, more spatter, and less precise control.
Process
Cold Setting Control
Best Application
TIG (GTAW)
Excellent — real-time amperage control
Thin sheet, precision, visual work
MIG with tri-mix
Good — short-circuit transfer at low voltage
Medium gauge, production welding
Flux-core
Limited
Heavier structural stainless work
Stick
Limited
Repair, field work, thicker material
TIG Settings for Cold Stainless Steel
For TIG welding stainless, DCEN (direct current electrode negative) is standard. The tungsten stays cooler, penetration is controlled, and the arc is stable. Do not use AC unless your specific application or machine setup requires it.
Starting Amperage by Material Thickness
The general starting rule is approximately 1 amp per 0.001 inch (1 amp per 0.025 mm) of material thickness:
Material Thickness
Starting Amperage (DCEN)
Tungsten Size
Filler Diameter
0.040 in (1.0 mm)
25–45 A
1/16 in (1.6 mm)
0.045 in (1.1 mm)
1/16 in (1.6 mm)
50–70 A
1/16 in (1.6 mm)
1/16 in (1.6 mm)
1/8 in (3.2 mm)
90–130 A
3/32 in (2.4 mm)
3/32 in (2.4 mm)
3/16 in (4.8 mm)
130–160 A
1/8 in (3.2 mm)
1/8 in (3.2 mm)
These are starting ranges only. With a pulsed TIG machine and a foot pedal, you will naturally run at the lower end of each range when welding cold — using peak amperage briefly to establish the puddle, then reducing to prevent heat buildup.
Pulse settings are particularly effective for cold stainless TIG work. A pulse frequency between 1–5 Hz with a 30–50% background amperage and a 35–50% pulse width is a common starting framework for thin stainless. Check your machine’s manual for pulse parameter guidance specific to your model — the Miller TIG welder settings for stainless steel provide a relevant manufacturer-specific reference point.
Tungsten Preparation
For stainless TIG on DCEN, use a 2% thoriated (red band) or 2% ceriated (grey band) tungsten ground to a sharp point. A contaminated or balled tungsten immediately destabilizes arc control — keep a dedicated tungsten for stainless work.
Shielding Gas for TIG
Pure argon (100%) is standard for TIG welding stainless. Flow rate typically ranges from 15–20 CFH at the torch. For back-purging on tubing or pipe where weld-side oxidation is unacceptable, use pure argon at the root as well.
Filler Metal
For 304 and 316 stainless, ER308L and ER316L are the common choices. The “L” (low carbon) designation reduces the risk of sensitization — carbide precipitation at grain boundaries caused by heat exposure. Sensitization weakens corrosion resistance and is a real concern when running slow or making multiple passes.
MIG Settings for Cold Stainless Steel (Short-Circuit Transfer)
Short-circuit transfer MIG on stainless allows lower heat input than spray transfer, making it the more appropriate mode when working cold on thinner material.
For this to work correctly, shielding gas selection is not optional — the correct shielding gas for MIG welding stainless steel is critical to arc stability and weld quality. The standard choice is tri-mix: 90% He / 7.5% Ar / 2.5% CO₂. Pure CO₂ or standard C25 (75% Ar / 25% CO₂) used for mild steel will cause oxidation and poor bead appearance on stainless.
Approximate MIG Starting Settings (Short-Circuit, 0.030 in / 0.8 mm ER308L Wire)
Material Thickness
Voltage
Wire Feed Speed
Gas Flow
18 ga (1.2 mm)
15–17 V
150–200 IPM
20–25 CFH
16 ga (1.6 mm)
16–18 V
200–250 IPM
20–25 CFH
1/8 in (3.2 mm)
17–19 V
250–300 IPM
25–30 CFH
Voltage and wire-feed speed must be adjusted together. Dropping voltage without reducing wire speed produces a stubby, stuttering arc. If the machine produces excessive spatter at these ranges, the polarity is worth confirming — stainless MIG uses DCEP (direct current electrode positive). For a broader reference on coordinating these two variables, this MIG welding wire speed and voltage chart explains the relationship in practical terms.
Joint Preparation and Contamination Control
Stainless steel is highly sensitive to contamination. Carbon steel particles embedded into the surface from shared tools, wire brushes, or grinding discs will rust and compromise corrosion resistance.
– Use stainless-specific brushes — never brushes previously used on carbon steel
– Degrease with acetone or a dedicated stainless cleaner before welding
– Avoid touching the cleaned area with bare hands
– Keep grinding discs, wire wheels, and clamps stainless-dedicated where possible
Even when running cold settings with excellent machine parameters, contaminated base metal produces porosity, discoloration, and inconsistent fusion. Preparation is not secondary to settings — it is equally important.
Common Cold Welding Defects on Stainless and What They Look Like
Lack of fusion is the primary risk when running cold. The bead profile may look normal from above, but the toes of the weld don’t actually tie in to the base metal. This is difficult to detect visually and requires mechanical testing or cross-section examination to confirm.
Porosity in stainless cold settings is often caused by contamination rather than heat level. Small pits or holes in the bead surface indicate gas was trapped in the solidifying weld pool — usually from surface oils, moisture, or gas flow problems.
Sugaring (oxidation on the back side) appears as a rough, porous, dark surface on the underside of stainless welds, particularly on tubing and pipe. It indicates insufficient back-purge shielding. This is not a function of cold settings specifically, but thin material welded cold takes longer to solidify and can be more vulnerable if back shielding is absent.
Sensitization occurs when the heat-affected zone is held too long above approximately 800°F (425°C). Slow travel speed at marginally adequate amperage — which describes many “cold but slow” attempts — can actually create more sensitization risk than a faster pass at slightly higher amperage.
Technique Adjustments That Support Cold Settings
The machine settings alone don’t determine outcome. Technique contributes significantly when welding stainless cold.
– Keep arc length short. A wandering or long arc on TIG increases voltage and heat unpredictably.
– Move at a consistent travel speed. Slowing down while running cold settings causes local heat accumulation — the opposite of the intended effect.
– Use stringer beads rather than weaving. Weaving increases heat input and dwell time. Stringers keep heat input lower and more predictable.
– Allow interpass cooling. On multi-pass welds, let the material cool below approximately 300°F (150°C) between passes. Touch the material with an IR thermometer or temperature-indicating stick rather than guessing.
– Clamp to a copper or aluminum backing bar on thin stainless sheet. These materials act as heat sinks and reduce warping without requiring you to reduce amperage further.
Safety Considerations
Stainless steel welding generates chromium hexavalent fumes — a recognized carcinogen. This hazard applies regardless of the heat level used.
– Use a respirator rated for welding fumes (minimum P100 or N95 with OV cartridges for hexavalent chromium), or use local exhaust ventilation
– Never rely on general shop ventilation alone for stainless welding
– Wear a welding helmet with a shade appropriate to the process: shade 9–13 for TIG depending on amperage, shade 10–12 for MIG
– Wear flame-resistant clothing, leather gloves, and appropriate footwear
– Ensure the work area is clear of combustibles and the workpiece is properly grounded
For enclosed or confined-space stainless welding, employer-specific respiratory and ventilation requirements should be followed. Check applicable OSHA or local workplace safety regulations.
Frequently Asked Questions
What amperage should I use for cold TIG welding 18-gauge stainless steel?
For 18-gauge stainless (approximately 0.048 inches / 1.2 mm), a starting amperage range of around 30–50 amps on DCEN is typical when using a 1/16-inch tungsten and ER308L filler. With a foot pedal, you’ll likely operate through the lower portion of that range once the metal warms up. Pulse settings between 1–3 Hz can help maintain fusion without sustained heat buildup.
Does cold welding stainless steel affect corrosion resistance?
Yes, it can — but in the opposite direction from what most people assume. Running too cold with slow travel speed can increase time spent in the sensitization temperature range (approximately 800–1500°F / 425–815°C), promoting carbide precipitation and reducing intergranular corrosion resistance. Using L-grade filler metals (ER308L, ER316L) and maintaining adequate travel speed reduces this risk, even at lower amperage.
Can I MIG weld stainless steel cold without tri-mix gas?
You can attempt it with other gas blends, but results are compromised. Standard C25 (75% Ar / 25% CO₂) causes oxidation on stainless and produces a rough, discolored bead. 98% Ar / 2% CO₂ is sometimes used as an alternative to tri-mix but is less common. For consistent cold short-circuit transfer on stainless, tri-mix remains the recommended shielding gas.
Why does my cold stainless weld look good but feel like it’s sitting on top of the metal?
That is a classic sign of lack of fusion — a serious defect where the weld bead solidified without bonding properly to the base metal. Cold settings without adequate travel speed control, incorrect torch angle, or poor joint fit-up are common causes. The bead profile can appear smooth and even while the fusion zone is incomplete. Do not rely on visual inspection alone to confirm fusion on structural stainless joints.
What filler rod should I use for cold welding 304 stainless steel?
ER308L is the standard filler for 304 stainless steel. The L designation indicates low carbon content, which reduces sensitization risk during the welding thermal cycle. For 316 stainless, use ER316L. Avoid matching filler to carbon steel electrodes — correct filler selection for 304 stainless steel MIG welding explains why this distinction matters for both corrosion performance and mechanical properties.
Is back-purging necessary for cold TIG welding stainless tubing?
For sanitary, food-grade, pharmaceutical, or any application where internal oxidation is unacceptable, yes. Cold settings actually extend the time the weld root stays above oxidation temperature, making back purging at least as important as it is at higher heat levels. For structural stainless tubing where internal surface condition is not a concern, back purging may not be required — but confirm this with your application’s specification or inspector.
How do I know if my stainless settings are too cold?
Watch the weld puddle behavior. If the bead is piling up or building a convex profile rather than flowing smoothly into the base metal, fusion is likely insufficient. Cold underrun also shows up as irregular tie-in at the weld toes — the edge of the bead sits slightly above the base metal surface rather than blending in. Adjust amperage upward in small increments (5–10 amps at a time for TIG) and check toe tie-in before assuming the issue is technique.
The most important principle when dialing in cold stainless settings is that reduced heat is not an end goal — controlled fusion is. Keep amperage, travel speed, and technique in balance. A faster pass at slightly higher amperage often produces less total heat input and less sensitization risk than a slow pass at a lower setting. Verify fusion at the toes, use L-grade filler, and never skip contamination control — clean metal and correct shielding gas do as much work as the amperage dial.