
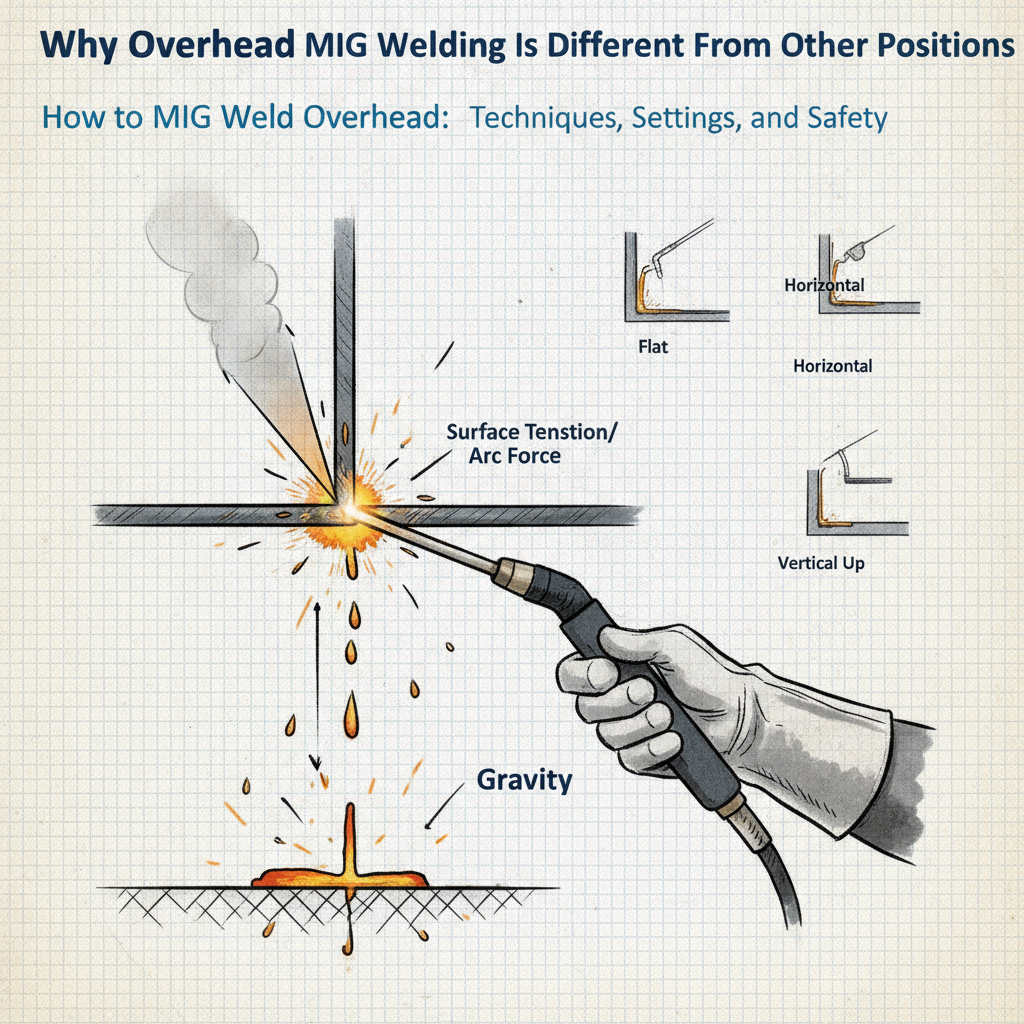
Why Overhead MIG Welding Is Different From Other Positions
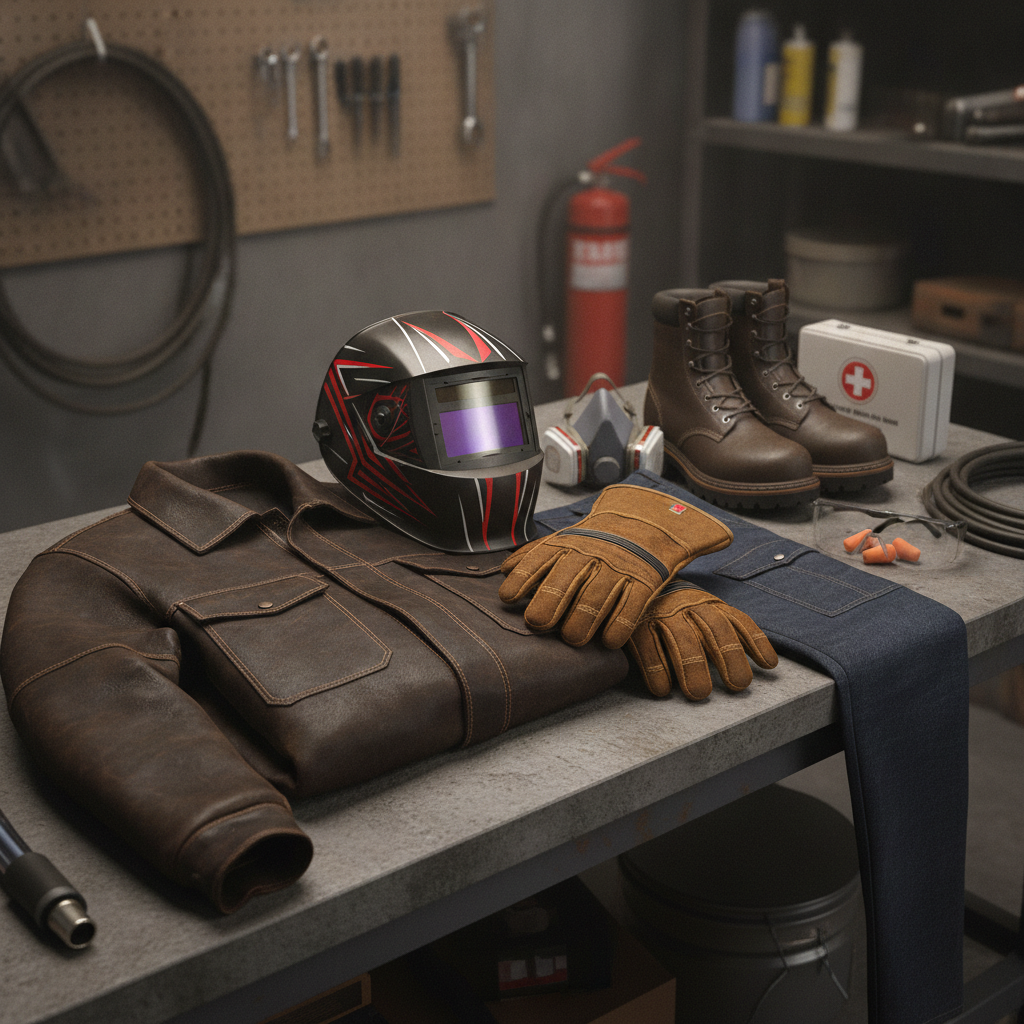
Protective Gear You Need Before Starting
Machine Settings for Overhead MIG Welding
The general rule is to reduce voltage by about 10–15% compared to your flat position settings for the same material thickness. Wire feed speed typically drops by a similar margin. Lower heat input keeps the puddle smaller and more manageable. A tight, fast-freezing puddle is your best tool against drip. General starting point for overhead MIG on mild steel:| Material Thickness | Wire Diameter | Voltage (approx.) | Wire Speed (approx.) |
|---|---|---|---|
| 1/8 in (3mm) | 0.030 in | 16–18V | 250–300 IPM |
| 3/16 in (5mm) | 0.035 in | 18–20V | 300–350 IPM |
| 1/4 in (6mm) | 0.035 in | 19–21V | 320–370 IPM |
Body Position and Gun Angle
Getting your body position right before you strike the arc saves you a lot of problems. Overhead welding is tiring — your arms will shake, your neck will ache, and a poor starting position makes all of that worse. Practical setup tips: – Support your arms whenever possible. Rest your elbow or forearm against a fixed surface, a scaffold rail, or your own body. Free-handed overhead welding causes more wander in the bead. – Position yourself so you can see the puddle clearly. If you’re guessing where the puddle is, you’ll overheat or miss the joint. – Take breaks. Overhead welding fatigues you faster than any other position. Short passes with brief rests produce better welds than long passes while your arms are shaking. Gun angle for overhead welding: – Use a 5–10 degree drag (trailing) angle — tip the gun slightly in the direction of travel – Maintain a 90-degree work angle to the joint surface, perpendicular to the seam – Keep the gun as close to the joint as visibility and access allow Avoid a push angle overhead. A drag angle helps you see the puddle and gives you slightly better penetration control.Step-by-Step: MIG Welding Overhead
1. Set up your machine at reduced voltage and wire speed using the table above as a starting point. Run a test bead on flat scrap first, then adjust for position. 2. Prepare the joint. Clean the metal thoroughly — mill scale, rust, paint, and oil all cause porosity. This matters more overhead because you can’t easily see contamination-related defects forming. 3. Check your shielding gas flow rate. Overhead welding benefits from a slightly higher flow rate — typically 20–25 CFH — since air currents near the floor can disrupt coverage. Confirm your regulator is set correctly before starting. 4. Position your body and support your arms. Find a stable stance or working platform before you strike the arc. Repositioning mid-weld is the fastest way to lose the puddle. 5. Strike the arc at the start of the joint. Don’t hesitate at the start — hesitating builds heat and creates a large puddle before you’ve moved. 6. Travel at a steady, slightly faster pace than you would flat. You want the puddle just large enough to fuse properly, but small enough that surface tension holds it in place. 7. Watch the leading edge of the puddle, not the arc. If you’re watching the arc, you’ll overshoot or undercut. 8. Weld in shorter passes — 3–6 inches at a time on longer joints is manageable. Stop, inspect, wire-brush if needed, and continue. 9. At the end of each pass, stop the trigger and hold the gun in place briefly to let the crater cool without pulling the arc out abruptly.Common Overhead MIG Welding Problems and Fixes
Puddle dripping or sagging The most common overhead problem. Almost always caused by too much heat — raise travel speed first, then reduce voltage slightly. Porosity in the weld Check shielding gas flow rate and look for drafts. Contaminated base metal is another frequent cause. If you’ve been welding thin metal and managing burn-through, the same contamination awareness applies overhead. Undercut along the toes of the weld Voltage is too high or travel speed is too fast. Reduce one or both. Inconsistent bead width Usually a body position or fatigue issue — your gun angle is drifting. Improve your support and shorten your passes. Excessive spatter Check polarity first. MIG welding runs on DCEP (electrode positive). Wrong polarity produces heavy spatter. Also check that wire speed and voltage are balanced — mismatched settings create spatter even with correct polarity. For a clear explanation of MIG welding polarity and how it affects arc quality, it’s worth reviewing if spatter is a recurring issue. Arc instability or wire stubbing Stick-out is likely too long. Bring it in to 3/8–1/2 inch.Practical Tips From Field Experience
– Weld in sections, not long continuous runs. Heat accumulates fast overhead. Breaking it into segments gives the metal time to cool between passes and keeps the puddle manageable. – If your setup allows it, flip or reposition the workpiece to flat. The best overhead weld is often the one you avoid. If repositioning is possible, always take it. – Use a wire brush between passes on multi-pass welds. Slag inclusions and spatter on earlier passes create problems in subsequent runs that are hard to diagnose afterward. – A welding positioner or stand is worth the investment for frequent overhead work. Even a simple fixture that lets you rotate the joint to flat saves significant time and physical strain. – Practice on scrap in the overhead position before attempting structural work. The feel of managing a sagging puddle is something you need to develop through repetition, not just reading. Many welders find a machine like the Lincoln Electric Weld-Pak 180HD useful here — it holds settings consistently during practice runs, so you’re only changing your technique, not chasing drift in the machine.FAQ
Can you MIG weld overhead without a welding jacket? No. Overhead welding without full protective clothing is dangerous. Spatter falls directly onto exposed skin, and burns from overhead spatter are more severe because the droplets fall from height. A leather welding jacket or FR cotton sleeves and a welding cap are the minimum safe standard. Should I use a smaller wire diameter for overhead MIG welding? In many cases, yes. Stepping down from 0.035 to 0.030-inch wire allows you to run lower heat input with better arc stability at reduced settings. For thinner material in the overhead position, 0.023-inch wire gives even more control. Larger wire diameters require more amperage, which makes puddle control harder overhead. Why does my MIG weld drip overhead even at lower settings? If dripping persists after reducing voltage, the most likely remaining cause is travel speed — you’re moving too slowly and heat is building up in one spot. Try a slightly faster travel pace. You can also try increasing wire feed speed marginally to match, which maintains fusion without increasing voltage. How do I reduce neck and arm fatigue during overhead welding? Use a supported working position whenever possible — lean your elbows against a structure, work from a stable platform rather than a ladder, and take 30–60 second rests between passes. A curved or articulating welding gun, such as the Miller Electric MIG Gun with an offset neck, reduces the wrist angle required for sustained overhead work. Is flux core better than MIG for overhead welding? Self-shielded flux core (FCAW-S) is commonly used for outdoor overhead structural work because it doesn’t require an external gas cylinder. For controlled shop environments, MIG with C25 gas typically produces cleaner welds with less spatter. The right choice depends on your environment and joint requirements, not a universal advantage of either process. What travel speed is correct for overhead MIG welding? There’s no universal number, but overhead travel speed should be noticeably faster than your flat position for the same settings. A good visual cue is that the puddle should remain small enough to fit within the joint without visibly bulging downward. If the puddle looks like it’s about to drip, you’re moving too slowly. Does shielding gas flow rate need to change for overhead welding? Slightly. A flow rate of 20–25 CFH is generally recommended for overhead work, compared to the 15–20 CFH typical for flat welding. The higher rate compensates for air movement near ground level and ensures consistent coverage. If you’re troubleshooting common MIG welding problems related to porosity or gas coverage, flow rate is one of the first settings to verify.Overhead MIG welding is a skill that improves significantly with deliberate practice on scrap before moving to actual work. Focus on reducing puddle size through lower settings, faster travel, and shorter stick-out — those three adjustments solve the majority of overhead welding problems. Once your puddle control is solid, the physical demands of the position become the main challenge, and those improve steadily with experience.