
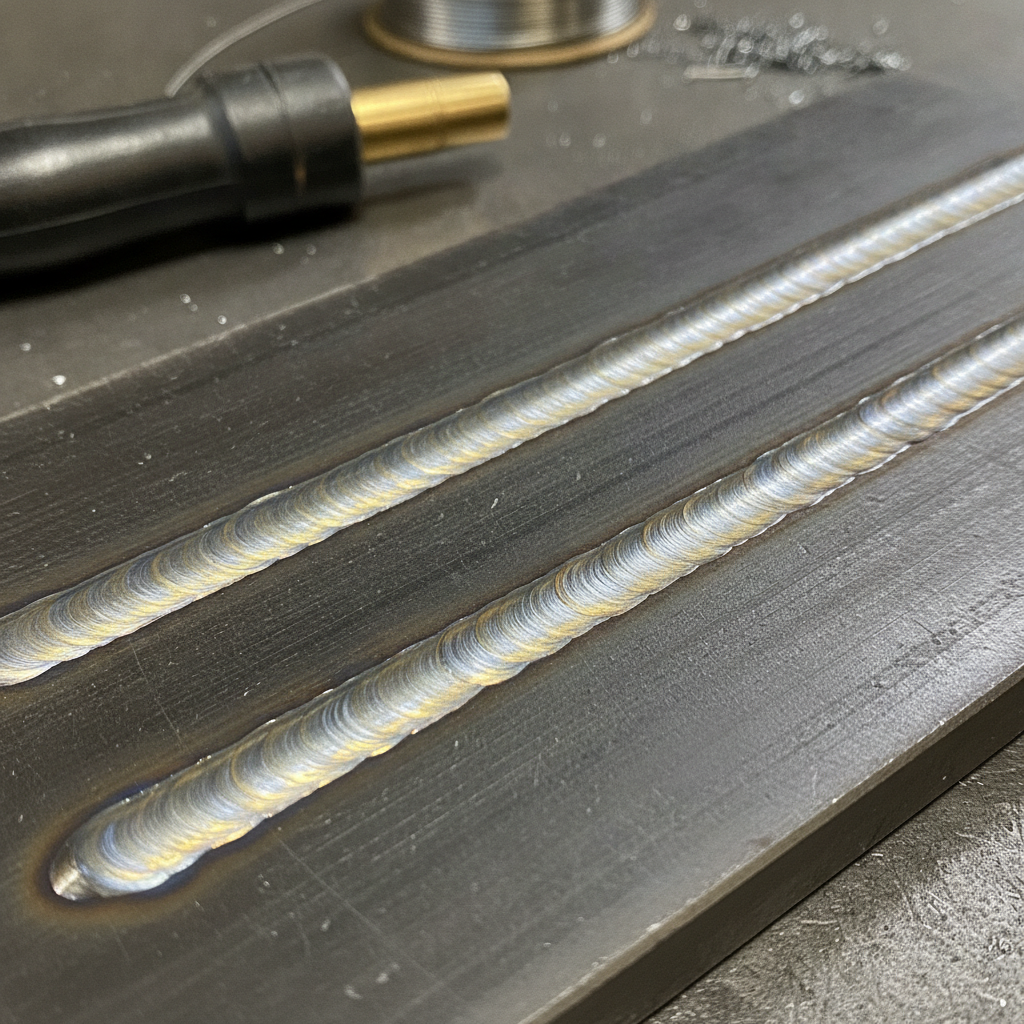
Stringer Beads: The Default Pattern for Most MIG Work
Weave Patterns and When They Actually Help
Circular and Cursive Patterns for Cosmetic Welds
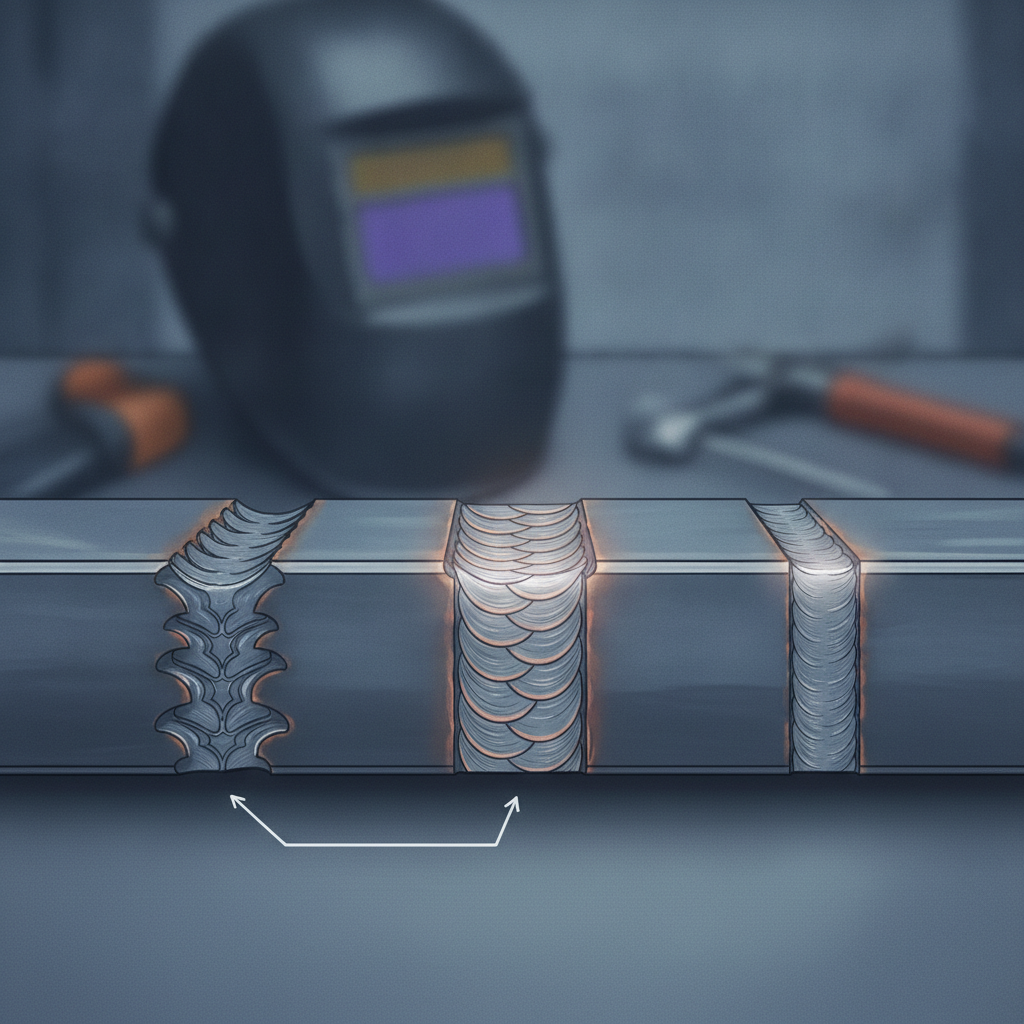
Some welders run circular or cursive patterns — small continuous loops or E-shapes — when the goal is a visually appealing bead with a stacked, rippled surface. This is common in automotive fabrication and custom metalwork where appearance matters alongside function. The challenge with circular patterns is maintaining consistent loop size and forward travel speed. If the loops get uneven, so does the penetration — some spots get more heat and some get less. On structural joints, that inconsistency is a problem. For visual welds on non-critical panels or decorative brackets, a tight circular pattern can produce a beautiful finish. On anything load-bearing, stringer passes or controlled weaves are more reliable.How Position Affects the Right Pattern Choice
Welding position significantly changes which patterns are practical and which ones create problems.| Position | Recommended Pattern | Why |
|---|---|---|
| Flat (1G/1F) | Stringer or moderate weave | Full control; most patterns viable |
| Horizontal (2G/2F) | Stringer or slight weave | Weave risks sag on the upper edge |
| Vertical-up (3G/3F) | Stringer or tight triangle weave | Weaving helps tie-in edges; gravity pulls puddle down |
| Vertical-down | Stringer only | Weaving increases burn-through risk |
| Overhead (4G/4F) | Stringer beads | Small puddle required; weaving hard to control |
Matching Pattern to Joint Type
Joint geometry matters as much as position. A butt joint with a tight fit-up behaves very differently from a T-joint fillet weld with a visible gap. Butt joints: Tight fit-up usually calls for a stringer bead for the root pass. If a wide gap exists, a slight weave or multiple passes are needed to bridge without burning through. If you’re working on thin material, controlling heat with stringer passes on thin steel becomes especially critical. Fillet welds on T-joints: A moderate weave works well here, particularly when the fillet leg size exceeds about 5/16 inch. The weave ensures the bead ties into both the horizontal and vertical plate without cold lapping at the edges. Lap joints: Stringer beads work for most lap joint passes, but a slight weave helps prevent undercut on the upper edge when the plates aren’t sitting flush. Square tubing and structural frames: Stringer passes are standard, especially at corners. MIG welding square tubing joints typically benefits from multiple stringer passes rather than a single wide weave.Common Pattern Mistakes That Hurt Weld Quality
A few errors appear repeatedly when welders are developing pattern technique. Weaving too wide: Wide weaves reduce centerline fusion and increase the heat-affected zone. Keep weave width within 3x the wire diameter unless your application specifically calls for a cover bead. Inconsistent travel speed: Speeding up or slowing down mid-pattern causes bead height variation and uneven penetration. Lock your arm position and use your shoulder and elbow, not your wrist. Losing puddle visibility mid-weave: If you can’t see the puddle clearly on both edges of the weave, the pattern is too wide or your position is off. Reset before the problem compounds. Using weave patterns on thin metal: Weaving on thin gauge material almost always leads to warping and burn-through. Stringer passes — or even a stitch pattern using tack-style bursts — are far more controlled. Vertical-down stringer passes are also worth considering when burn-through is a concern. Pattern mismatch with wire speed and voltage: Pattern alone doesn’t save a weld with wrong settings. A tight stringer bead run with excessive voltage still blows through. Settings and technique work together. If you’re running into consistent problems with your weld quality regardless of pattern, it’s worth looking at common MIG welding problems and their causes before changing your technique.Multi-Pass Welds and Pattern Sequencing
On thicker material requiring multiple passes, pattern choice becomes a sequencing decision, not just a single-pass choice. A typical multi-pass MIG weld sequence: 1. Root pass — Narrow stringer bead, full penetration, tight to the joint root 2. Fill passes — Stringer beads or slight weave to build up the joint without trapping slag 3. Cap pass — Weave or slightly wider pass to cover the fill passes and produce a clean surface Each pass must fuse fully to the previous one. Rushing the cap pass with an oversized weave often creates cold laps where the bead edge didn’t fully tie in. In practice, a cap pass that’s 1–2 passes wide gives better fusion than one large weave bead. The Lincoln Electric Magnum PRO 100L gun is an example of a torch designed with enough reach and ergonomic angle to maintain consistent pattern movement on multi-pass welds, particularly in tight or restricted joints.FAQ
What is the strongest MIG weld pattern? Stringer beads consistently produce the deepest penetration and most reliable fusion, making them the strongest pattern for structural welds. The tight, focused heat creates better root fusion than a wide weave. For thick material where multiple passes are needed, a stringer sequence on fill passes followed by a controlled cap weave is the standard approach in structural fabrication. Should I push or pull when using weld patterns? In MIG welding, a slight push angle (torch pointing in the direction of travel) typically produces a flatter, wider bead with shallower penetration. A drag (pull) angle produces a narrower bead with slightly more penetration. Most welders use a push angle between 5–15 degrees for most flat and horizontal positions, adjusting for joint type rather than pattern. Can I use weave patterns on thin sheet metal? Weave patterns on thin sheet metal (18 gauge and lighter) almost always cause problems — warping, burn-through, and distortion. Stringer passes at reduced voltage and wire speed, or a stitch welding approach using short intermittent bursts, give far better results on thin material. Vertical-down travel can also help keep heat input low. Why does my weave bead have cold laps at the edges? Cold lapping at weave edges usually means travel speed is too fast or you’re not pausing long enough at each edge to allow fusion. Try slowing your overall travel speed slightly and adding a brief hesitation at each side of the weave before crossing back. Also check that voltage is adequate — cold lapping is often a voltage and technique problem combined. What’s the difference between a stringer bead and a cursive pattern in MIG welding? A stringer bead moves in a straight line with no oscillation — it’s controlled by travel speed and wire feed rate alone. A cursive or figure-8 pattern adds looping side motion that widens the bead, distributes heat more laterally, and creates a visually rippled finish. Stringer beads are preferred for strength and structural welds; cursive patterns are primarily used for cosmetic work on non-critical joints. Does torch angle affect how a pattern performs? Yes, significantly. A steep work angle or excessive drag angle magnifies the effect of any pattern. A zigzag run with a 30-degree drag angle will produce deeper channels at the edges than the same pattern run at 10 degrees. Keeping torch angle consistent throughout the pattern is as important as the pattern itself. When should I use multiple stringer beads instead of a weave? Multiple stringers are preferred when the joint requires maximum strength, when welding in position (vertical or overhead), or when working within code requirements that limit weave width. They’re also better when full fusion on every pass is critical, because each stringer bead ties cleanly into the previous one without the risk of cold laps associated with wide weave patterns.Choosing the right MIG weld pattern isn’t about preference — it’s about matching the movement to the joint, position, material thickness, and the purpose of the weld. Stringer beads handle most structural work reliably. Weave patterns earn their place on fill passes, cap passes, and joints with larger gaps. The best welders treat pattern selection as a deliberate decision, not a habit.