
Knowing whether a MIG weld is strong enough isn’t something you can determine just by looking at it. Surface appearance can be deceiving — a clean, uniform bead may hide cold fusion, porosity, or lack of penetration underneath.
MIG weld strength is tested using destructive methods (nick-break, bend, tensile, and macro-etch tests) or non-destructive methods (visual inspection, dye penetrant, ultrasonic, and X-ray testing). Destructive tests give the most accurate data on actual weld integrity and fusion quality. Non-destructive tests are used for production welds where the part must remain intact. The right test depends on the application, weld type, and whether the part can be sacrificed.
Why Weld Strength Testing Matters

A failed weld in a structural application doesn’t give warnings. It fails suddenly, often under dynamic load, and the consequences can be serious.
Even experienced welders use test pieces when qualifying new procedures, changing wire grades, switching shielding gas, or welding unfamiliar base metal. Testing removes the guesswork and gives measurable confirmation that fusion, penetration, and mechanical properties meet the requirement.
For hobbyist fabrication, testing a few practice welds before running a structural joint is a simple habit that pays off quickly.
Destructive Testing Methods
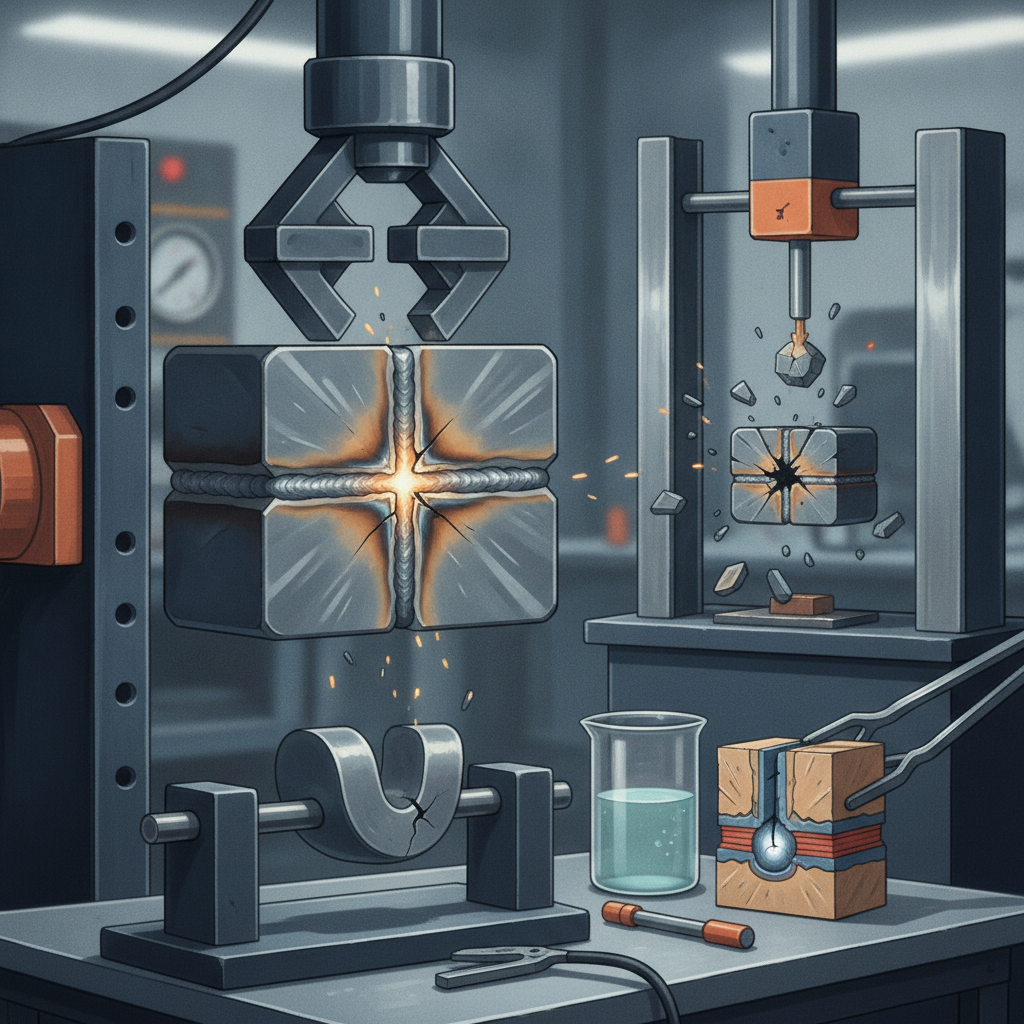
Destructive testing sacrifices the weld specimen but gives direct, measurable results. These are the most reliable methods for confirming real-world weld strength.
Nick-Break Test
The nick-break test is one of the most practical field tests available. A notch is cut into the center of a butt weld using a saw or grinder, and the specimen is then broken by bending or striking it.
The fracture face reveals internal conditions that no external inspection can detect:
- Porosity — gas pockets visible as round holes on the break surface
- Incomplete fusion — flat, shiny surfaces showing the weld didn’t bond to base metal
- Slag inclusions — dark particles trapped in the weld
- Proper fusion — a rough, granular fracture surface with no defects
This test is widely used in welding certification training and qualification testing. It’s fast, requires minimal equipment, and gives clear visual feedback.
Bend Test
The bend test evaluates ductility and soundness. A specimen is bent around a mandrel of a specified diameter — usually in a guided bend jig — and the outer surface is examined for cracks.
There are two primary orientations:
- Face bend — the weld face is in tension during bending
- Root bend — the weld root is placed in tension
Cracks longer than 3mm (approximately 1/8 inch) on the tension surface typically indicate a failure under AWS D1.1 and similar codes. Root bend failures usually point to inadequate penetration or root fusion problems.
This test is a core requirement in AWS D1.1 structural welding qualification and many other welding procedure specifications.
Tensile Test
Tensile testing pulls a weld specimen apart using a testing machine and measures the load at which it breaks. Key values recorded include:
- Ultimate tensile strength (UTS) — maximum load before fracture
- Yield strength — load at which permanent deformation begins
- Fracture location — whether failure occurs in the weld, heat-affected zone, or base metal
For a properly made MIG weld on mild steel, the weld metal should typically match or exceed the base metal strength, meaning fracture should occur in the base metal — not the weld. ER70S-6 wire, for example, deposits weld metal rated at approximately 70,000 psi tensile strength, which exceeds common mild steel grades.
Tensile testing requires laboratory equipment and machined specimens, making it more common in manufacturing and certification environments than in fabrication shops.
Macro-Etch Test
A cross-section of the weld is cut, polished, and etched with an acid solution (commonly nitric acid or ferric chloride). This reveals the weld profile, penetration depth, fusion line, heat-affected zone width, and any internal defects.
The macro-etch test is particularly useful for:
- Verifying fusion at the root
- Confirming weld profile dimensions match the joint design
- Detecting internal porosity or cracking not visible from outside
If you’re working on determining proper weld size for a structural application, a macro-etch on a test piece before committing to production welds is a sound practice.
Non-Destructive Testing (NDT) Methods
Non-destructive testing evaluates welds without damaging the part. These methods are essential in production environments where completed assemblies cannot be cut apart.
Visual Inspection (VT)
Visual inspection is the first line of evaluation for every weld. It’s fast, costs nothing, and catches many obvious defects.
Key items to inspect:
- Undercut along the weld toes
- Excessive convexity or concavity
- Cracks visible at the surface
- Overlap (weld metal rolled over the base metal without fusion)
- Irregular bead profile or incomplete coverage
Visual inspection alone cannot confirm fusion depth or internal soundness. It’s a starting point, not a complete assessment.
Dye Penetrant Testing (PT)
A colored or fluorescent dye is applied to the weld surface, allowed to penetrate surface-breaking defects, and then drawn out with a developer. Cracks and porosity become visible as bright indications against the developer background.
Dye penetrant testing is effective for surface-level defects on non-porous metals. It does not detect subsurface flaws. This makes it useful for checking weld toes and heat-affected zones for cracking after cooling.
Ultrasonic Testing (UT)
High-frequency sound waves are transmitted through the weld. Internal defects reflect the sound waves back to the probe, and the equipment displays the reflected signal as an indication.
Ultrasonic testing can locate and size internal flaws such as lack of fusion, porosity, and cracking without cutting the weld. It requires trained operators and calibrated equipment. In thick-section structural work, UT is often preferred over radiography because it identifies flaw depth and orientation more precisely.
Radiographic Testing (RT)
X-ray or gamma-ray imaging passes radiation through the weld and exposes a film or digital detector on the opposite side. Internal defects appear as density variations on the image.
Radiography provides a permanent visual record of weld interior. It’s commonly required in pressure vessel and pipeline fabrication. It’s also expensive, requires safety controls for radiation, and isn’t practical in most fabrication shop environments.
Comparing Test Methods at a Glance
| Test Method | Detects Surface Defects | Detects Internal Defects | Destroys Specimen | Typical Use |
|---|---|---|---|---|
| Nick-Break | No | Yes (on fracture face) | Yes | Certification, field checks |
| Bend Test | No | Yes (via cracking) | Yes | Welder qualification |
| Tensile Test | No | Partially | Yes | Procedure qualification |
| Macro-Etch | Yes | Yes | Yes | Cross-section analysis |
| Visual Inspection | Yes | No | No | All welding |
| Dye Penetrant | Yes (surface only) | No | No | Crack detection |
| Ultrasonic | No | Yes | No | Structural, heavy fabrication |
| Radiographic | No | Yes | No | Pressure vessels, pipelines |
Factors That Affect MIG Weld Strength
Test results don’t exist in a vacuum. The mechanical properties of a MIG weld depend on several interacting variables.
Wire selection plays a major role. ER70S-6 is the most common solid MIG wire for mild steel and deposits weld metal with higher deoxidizer content, which improves fusion on slightly oxidized or scaled surfaces. Using mismatched filler for the base metal produces weaker welds regardless of technique.
Shielding gas composition affects bead profile, penetration, and overall mechanical properties. A 75/25 argon/CO₂ mix produces a stable arc and good mechanical properties on mild steel, while higher CO₂ percentages increase penetration but can affect ductility slightly.
Heat input — controlled by voltage, wire feed speed, and travel speed — directly affects fusion and the heat-affected zone. Too little heat produces cold laps and incomplete fusion. Too much heat creates large, porous beads and weakened base metal adjacent to the weld.
Joint preparation matters more than most beginners expect. Mill scale, rust, oil, and paint all introduce contamination that weakens the weld. A clean joint with correct fit-up is a prerequisite for consistent strength.
Understanding how to calculate the strength of welded joints can help you set realistic expectations before testing, especially when designing connections for a specific load requirement.
Running a Simple Weld Strength Test at Home
Professional lab equipment isn’t required to evaluate basic MIG weld quality. A practical shop-level test can be done with common tools.
Step 1 — Prepare a test coupon. Cut two pieces of the same base metal you intend to weld in production. Use the same thickness, same wire, and the same machine settings you plan to use on the actual job.
Step 2 — Weld the joint. Run a butt weld or T-joint depending on your application. Let it cool completely at room temperature — don’t quench it.
Step 3 — Perform a nick-break test. Cut a notch along the center of the weld. Place the coupon in a vise and strike it with a hammer, or clamp it and apply bending force until fracture occurs.
Step 4 — Inspect the fracture face. Look for porosity, slag, or flat shiny areas indicating incomplete fusion. A properly welded specimen should show a uniform, granular fracture with no visible defects.
Step 5 — Try a bend test. Cut a 1-inch wide strip from the welded coupon and bend it 180° over a piece of round stock. Check the tension face for cracks. If it bends without cracking at the weld, fusion and ductility are acceptable.
For T-joint fillet welds, the break test is the most useful — place the coupon in a vise with the upright member pointing up and hammer it over. A good fillet weld will fracture through the weld metal, not along the fusion line.
What Good Test Results Actually Look Like
Many first-time testers aren’t sure what they’re looking for once the weld breaks. Here’s what to expect from a sound MIG weld:
- Nick-break fracture surface: Rough, irregular, matte gray texture — similar to the appearance of broken cast iron or rough concrete
- No porosity: No round holes on the fracture face
- No incomplete fusion: No flat, smooth zones where the weld metal separated cleanly from the base metal
- Bend test result: The weld area bends without cracking or cracking only minimally at defect-free areas
- Fillet break result: Failure through the weld throat, not along the toe or root fusion line
A weld that passes these checks has demonstrated adequate fusion and ductility for most fabrication purposes.
Common Causes of Weld Failures in Testing
When a test reveals a weak or defective weld, the cause is usually traceable.
- Porosity throughout the fracture face — most often caused by shielding gas issues: low flow, leaks, drafts, or contaminated base metal
- Incomplete fusion at the root — travel speed too fast, arc gap too large, or insufficient heat for the joint thickness
- Cold laps — wire feed speed and voltage out of balance, producing a weld that sits on top of the base metal without bonding
- Cracks in bend test — hydrogen cracking from rapid cooling, contamination, or improper filler for the base material
Testing your MIG welder’s transformer is worth doing if you’re getting inconsistent results that can’t be explained by technique or settings alone — electrical output problems can produce welds that look acceptable but lack real fusion.
Weld Strength Standards to Know
Several governing standards define acceptable weld strength and testing requirements:
- AWS D1.1 — Structural Welding Code for steel; defines bend test, tensile test, and visual inspection requirements for welder qualification
- AWS D1.3 — Structural Welding Code for sheet steel
- ASME Section IX — covers welding procedure and performance qualification for pressure vessels and piping
- ISO 9016 / ISO 5173 — international standards for destructive testing of welds, including nick-break and bend test procedures
For most shop fabrication, AWS D1.1 is the most commonly referenced standard. Even when formal compliance isn’t required, using its testing criteria gives a reliable benchmark for evaluating weld quality.
Understanding how to calculate fillet weld strength becomes especially useful once you have actual cross-section measurements from a macro-etch or break test — you can then verify whether the weld size matches the load requirement.
FAQ
What is the strongest MIG weld joint type?
A full-penetration butt weld in the flat position generally produces the highest strength joint because the weld metal replaces the base material entirely across the cross-section. When properly made, the weld area can match or exceed base metal tensile strength. Fillet welds on T-joints and lap joints are also strong but depend heavily on fillet size and penetration depth.
How do I know if my MIG weld has good penetration without cutting it?
The most reliable way without cutting is to use ultrasonic testing equipment. For shop-level evaluation, running a nick-break test or macro-etch on a test coupon with the same settings is the most practical approach. Bead profile and width give some indication, but they cannot confirm root penetration without a destructive or NDT method.
What does porosity look like in a weld break test?
On a nick-break fracture face, porosity appears as round or oval holes scattered through the weld metal. They’re usually easy to spot — smooth-walled, clearly defined voids against the rougher surrounding fracture surface. Even a few visible pores can indicate a gas coverage problem that needs to be corrected.
Can I test a fillet weld without lab equipment?
Yes. The fillet weld break test requires only a vise and a hammer. Weld a T-joint, clamp the base plate in the vise, and strike the upright member until fracture occurs. Inspect the fracture face for fusion quality, porosity, and whether the failure went through the weld throat (acceptable) or along the fusion line (indicates fusion problem).
How does wire type affect MIG weld strength test results?
Wire classification directly affects deposited weld metal tensile strength. ER70S-6 wire deposits metal rated at 70,000 psi minimum tensile strength. Using ER80S or higher classification wire produces stronger weld metal, which matters when welding higher-strength steel. Mismatching wire to base metal — for example, using ER70S on higher-strength alloy steel — results in an under-matched weld that may fail in the weld rather than the base metal during tensile testing.
What’s the difference between a weld strength test and a welder qualification test?
A weld strength test evaluates a specific weld — it measures the strength of that joint. A welder qualification test evaluates the person performing the weld. Qualification tests use standardized joint configurations and pass/fail criteria defined by codes like AWS D1.1 or ASME Section IX. Passing a qualification test demonstrates that a welder can consistently produce code-acceptable welds under specific conditions.
Does travel speed affect strength test results?
Travel speed significantly affects bead geometry, penetration, and heat input. Moving too fast produces a narrow bead with poor fusion at the toes and insufficient penetration. Moving too slowly creates an oversized, potentially porous bead with excessive heat input. Both extremes show up clearly in bend tests and macro-etch cross-sections — which is exactly why running test coupons before production work is worthwhile.
A weld that looks good externally tells you very little about what’s happening at the fusion line. Destructive testing — even a simple break or bend test done in your own shop — gives real, measurable data that no amount of visual inspection can replace. Run test coupons when you change settings, change materials, or start a new project where weld integrity matters. The few minutes it takes to test a coupon is far less costly than discovering a problem after the structure is assembled and under load.